Hand-Building
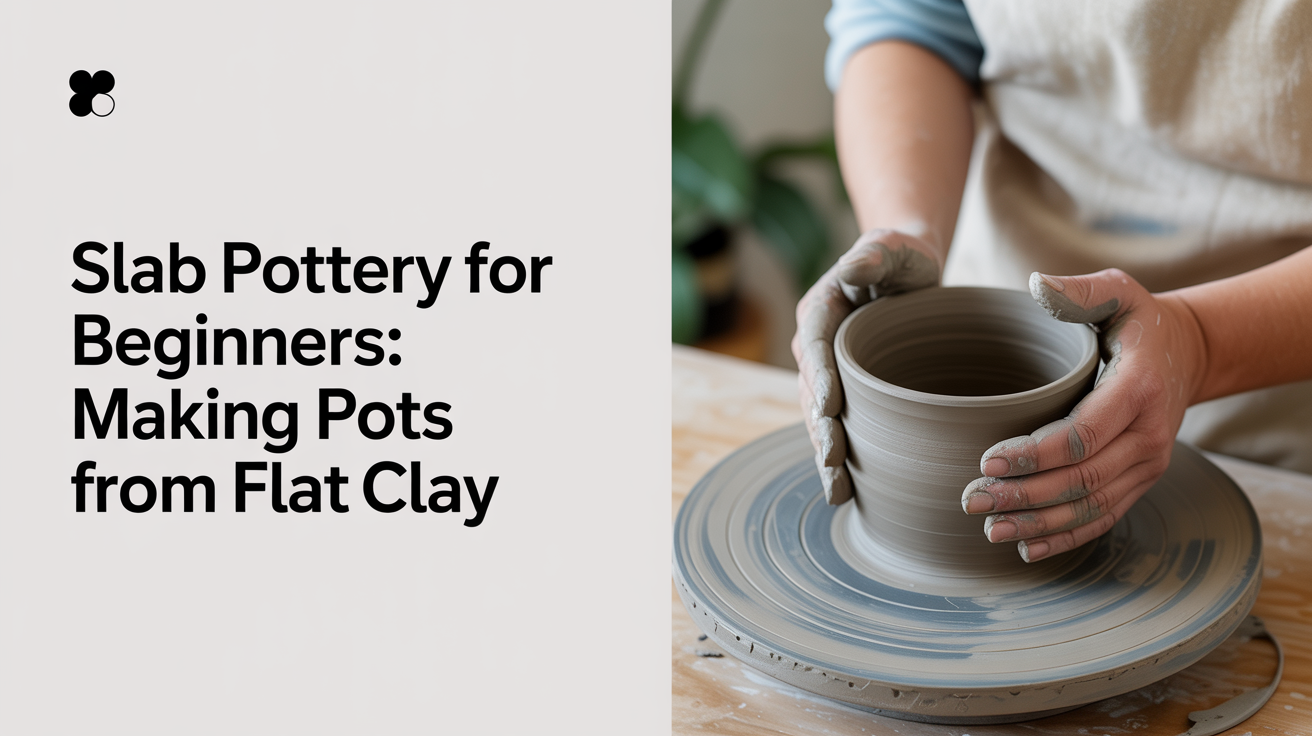
Slab Pottery for Beginners: Making Pots from Flat Clay
Learn slab pottery for beginners: roll even clay slabs, cut templates, join pieces with score and slip, and build your first slab dish or box.
Slab pottery is one of the most accessible hand-building methods because you start with flat sheets of clay and assemble them the way a carpenter assembles wood. No wheel, no centering, no spinning. You roll out a slab, cut your shapes, and join them together to form walls, floors, and rims.
If you have already tried pinch pot basics and want a technique that opens up more angular, geometric forms, slab building is the natural next step. The learning curve is mostly about patience: clay needs to be at the right stage of dryness at the right moment, and rushing that is where most beginners get into trouble.
What You Need Before You Start
Tools List
- Rolling pin or thick wooden dowel
- Two guide sticks, each 6 mm (1/4 inch) thick (more on these below)
- Canvas or fabric work surface (clay releases cleanly from woven texture)
- Fettling knife or sharp paring knife
- Scoring tool (a fork works fine to start)
- Slip (liquid clay roughly the consistency of yogurt)
- Soft brush for applying slip
- Sponge and small bowl of water
- Plastic sheeting or bin bags for covering work in progress
You do not need a kiln at home to practice; community studios will fire your pieces for a modest fee per item.
Rolling Even Slabs: Why Guide Sticks Matter
The single most common mistake in slab pottery for beginners is rolling uneven sheets. One end ends up thick and the other thin, so the walls crack or warp unevenly during drying and firing.
Guide sticks solve this completely. Place one stick on each side of your clay, running parallel to each other. Rest the ends of your rolling pin on the sticks as you roll. The rolling pin can only go as low as the sticks allow, so your slab comes out the same thickness from edge to edge.
How to Roll a Slab
- Wedge your clay to remove air pockets. A piece roughly the size of a grapefruit gives you a workable slab without too much effort.
- Flatten the clay into a rough disc with your palm.
- Place the disc on your canvas and position your guide sticks on either side.
- Roll from the centre outward, rotating the canvas a quarter-turn after every few passes rather than turning the clay itself.
- Lift the slab gently and re-lay it before it sticks. If it clings, slide a palette knife underneath.
- Aim for a finished thickness of about 6 mm (1/4 inch) for a small pot or dish. Thinner slabs are fragile; thicker ones take much longer to dry evenly.
Once rolled, let the slab sit uncovered for 10 to 20 minutes. You want the surface to lose its shiny wetness before you try to cut it.
Soft Slab vs Leather-Hard Slab Building
Clay behaves very differently depending on its water content, and knowing which state to use for which step is the core skill in slab building technique.
Soft slabs (freshly rolled, still pliable) are good for draping over or inside a mould, for instance a shallow bowl or a hump mould made from a foam block. The clay conforms to the form easily and takes on the texture of whatever it touches. If you press a fresh slab into a fabric-lined cereal bowl, you can lift it out after an hour and have the beginning of a curved dish.
Leather-hard slabs (firm to the touch, slightly cooler than room temperature, holds its shape when you lift an edge) are what you want for building vertical walls. A soft slab cannot support its own weight; press two soft walls together and they will slump. Leather-hard clay can stand upright, which is what makes boxes and cylinders possible.
The usual rhythm: roll your slabs, cover them loosely, and come back in one to three hours depending on temperature and humidity. Check by pressing a finger lightly near the edge. If the dent stays without the slab deforming, you are in the leather-hard zone.
Cutting Templates for Clean, Consistent Shapes
Freehand cutting produces wobbly walls that are hard to join accurately. For your first projects, make cardboard templates.
- Sketch your shapes on cardboard. For a simple box with 8 cm walls, cut four identical rectangles plus a base.
- Place each template on the leather-hard slab and trace around it with a needle tool or the tip of your knife.
- Cut straight down, holding the blade perpendicular to the slab. Angled cuts make the walls lean once you assemble them.
- Bevel the edges that will meet at corners. A 45-degree bevel on each adjoining edge gives you more surface area to join, which means a stronger seam.
Keep your cut pieces covered under plastic so they do not dry further while you finish cutting the rest.
Joining Clay: Score and Slip
This is the step that determines whether your pot holds together through firing or falls apart in the kiln. You cannot simply press two pieces of leather-hard clay together and expect them to bond. The surface has to be physically broken up and chemically reconnected with slip.
The full process is covered in detail in how to score and slip for strong joins, but here is the short version:
- Hold the two pieces up to each other to check the fit. Trim if they do not meet evenly.
- Use your scoring tool to scratch a crosshatch pattern across both surfaces that will touch. Cover the entire joining area, not just the edges.
- Brush slip generously onto both scored surfaces.
- Press the pieces together firmly and wiggle them slightly to work out air gaps.
- Smooth the interior seam with a finger or small wooden tool. Leaving a tiny fillet of clay in the corner reinforces the join the way a carpenter uses a fillet of wood glue.
- Support the piece so the join is not carrying weight while it dries, at least for the first hour.
Joins fail mostly because one surface was drier than the other or the slip was too thin. If you are joining pieces from two separate rolling sessions, dampen the drier piece slightly with a wet sponge before scoring.
A Simple First Project: Slab Dish or Slab Box
Both of these projects use the same basic skills and can be finished in a single studio session (plus drying time).
Option 1: Pinched Rim Slab Dish
This approach combines slab building with a bit of the softness from coil and pinch building.
- Roll a slab and cut an oval or rectangle, about 15 x 20 cm.
- Place it inside a shallow bowl or over a hump mould while still soft. Let it firm up to leather-hard in the mould.
- Remove from the mould. Roll a thin coil and attach it around the edge with score and slip to create a small raised rim.
- Pinch the coil gently to blend it in and give the rim a slightly wavy, organic look.
- Let the whole piece dry very slowly, covered loosely, for 24 to 48 hours before bisque firing.
Option 2: Basic Slab Box
- Cut four walls (all the same height) and one base. A good starter size: walls 8 cm tall and a base 12 x 12 cm.
- Bevel the bottom edge of each wall at 45 degrees so it sits flush on the base.
- Score and slip the base where each wall will sit. Score and slip the vertical edges where walls meet at corners.
- Attach one wall at a time, supporting each piece while you add the next.
- Reinforce every interior corner with a thin coil of soft clay, pressed in with a fingertip.
- Check that the box sits flat. If it rocks, the base is warped; gently press it level now, before it dries.
- Add a pulled or rolled handle on the exterior if you like, using the same score-and-slip method.
Dry the box slowly under loose plastic for two to three days. Rushing the drying is the main reason boxes crack at the corners.
Frequently Asked Questions
What clay body works best for slab building?
A grogged stoneware or earthenware clay (one with small particles of fired clay or sand added) handles slab building well because the grog adds structural strength and helps the slab hold its shape. Porcelain is possible but much less forgiving: it slumps easily in the soft stage and cracks more readily at joins. Start with a basic mid-fire stoneware rated to cone 6.
How thick should my slabs be?
For most beginner projects, 6 mm (1/4 inch) is a reliable thickness. Thinner than 4 mm and small pieces become fragile before firing; thicker than 10 mm and drying takes much longer and can cause stress cracks as the outside dries faster than the inside.
My slab cracked at the seam after drying. What went wrong?
The most common cause is mismatched moisture levels. If one piece was significantly drier than the other when you joined them, they shrank at different rates during drying and pulled the join apart. Other causes include slip that was too watery (not enough clay solids to bond) or a seam that was not scored deeply enough. For any future joins, make sure both surfaces are at the same leather-hard stage before you score.
Can I make curved forms with slab building?
Yes. Soft slabs draped over or inside a mould take on any curve the mould has. You can also roll a slab into a cylinder by wrapping it around a tube (PVC pipe works well) and joining the seam vertically. Remove the tube after the clay has firmed up enough to hold the cylindrical shape on its own, usually two to four hours depending on the clay.
Do I need to fire slab-built pieces differently than wheel-thrown ones?
The firing schedule itself is the same, but slab-built forms can trap air more easily at thick joins, so a slow climb through the water-smoking phase (around 100 to 200 degrees Celsius / 212 to 390 degrees Fahrenheit) is especially important. Make sure pieces are completely dry before they go into the kiln. Any remaining moisture turns to steam and can blow apart a join that survived the drying stage intact.