Hand-Building
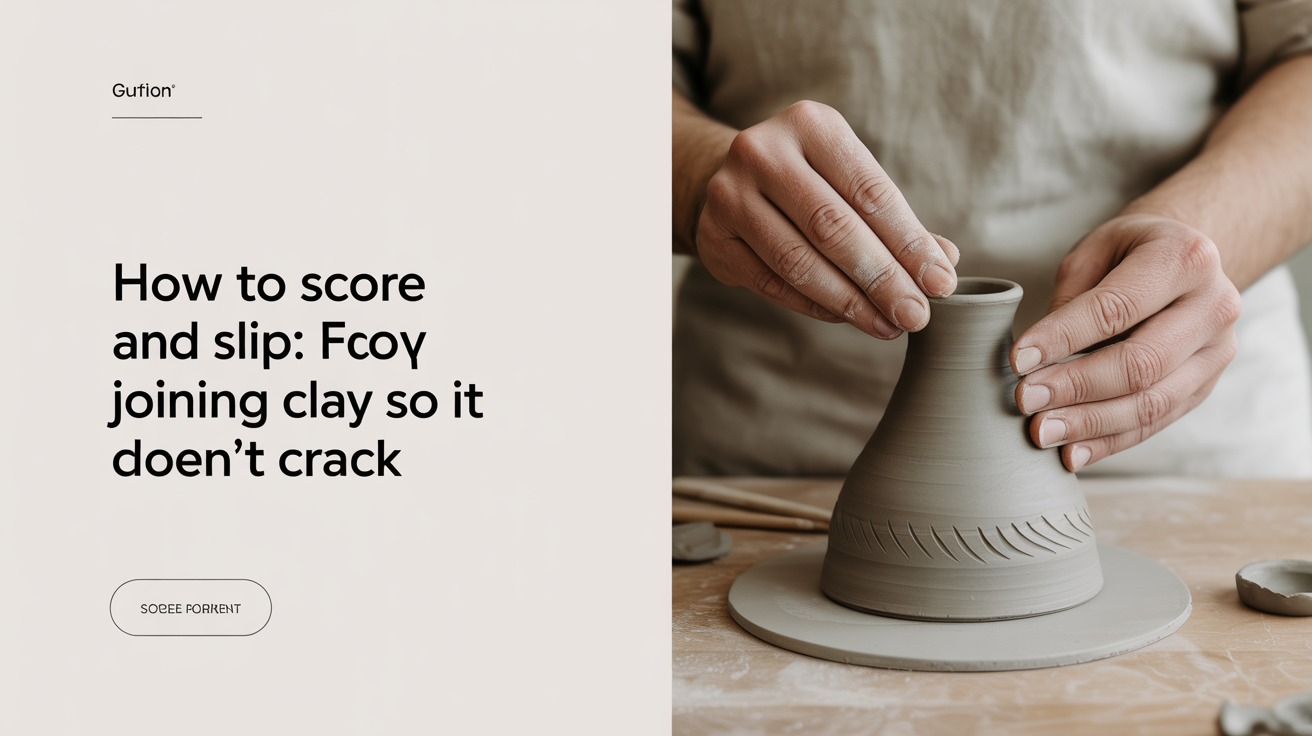
How to Score and Slip: Joining Clay So It Doesn't Crack
Learn how to score and slip clay to make strong, crack-free joins. Covers slip consistency, scoring technique, moisture matching, and coil reinforcement.
Scoring and slipping is the fundamental method for attaching clay pieces together: crosshatch both surfaces with a tool, brush on a layer of slip (liquid clay), press the pieces firmly together, and blend the seam with your fingers or a small tool. Done correctly, the join becomes nearly as strong as the surrounding clay. Skip any part of the process, or join pieces at mismatched moisture levels, and the seam will crack during drying or come apart in the kiln.
Why Joins Fail
Understanding what goes wrong makes it much easier to get things right. Most cracks and separations come down to a handful of causes.
Moisture Mismatch
Clay shrinks as it dries, and it shrinks at a rate tied to how wet it is. If you press a soft, wet piece against one that is nearly leather-hard, they will shrink at different rates and pull apart. The wet piece wants to move; the stiff piece resists. The seam takes all the stress, and it cracks.
The same problem shows up in reverse. If both pieces are too wet, the join can slump or distort under its own weight before it has a chance to firm up.
Skipping the Scoring Step
Slip alone is not enough. A smooth clay surface does not give slip anywhere to grip. Scoring creates a roughened texture with dozens of small grooves and channels. When you add slip, it fills those grooves and, when pressed together, the two scored surfaces interlock mechanically. Without scoring, you are essentially trying to glue two glass panels together with water.
Trapped Air
Pressing two pieces together without firm, even pressure can trap air pockets at the seam. Air expands in the kiln, and a pocket of trapped air can literally blow apart a join during firing. This is especially common when attaching handles or slabs where the contact area is large.
What Slip Is and How to Make It
Slip is simply clay dissolved in water to a consistency a little thicker than heavy cream. It should coat a brush easily and flow off slowly, not drip like water or sit stiff like paste.
The best slip to use is made from the same clay body you are working with. A mismatch in clay type creates another shrinkage mismatch at the join, which can cause problems even if your technique is perfect.
To make slip at home:
- Collect scraps and trimmings of your clay body in a container
- Cover them with water and let them slake (dissolve) for 24 to 48 hours
- Stir or blend until smooth, adding water gradually until you reach the right consistency
- Pass it through a coarse mesh strainer to remove lumps
- Store it in a lidded container; stir before each use
Some potters add a small amount of vinegar to their slip, which slightly increases the acidity and can improve adhesion. A teaspoon per cup of slip is a common ratio. It is a useful trick but not essential if your moisture levels and scoring are solid.
The Score, Slip, Press, and Blend Sequence
This is the core of hand-building techniques like pinch pots and almost every other joining situation you will encounter.
Step 1: Prepare both surfaces. Make sure both pieces are at roughly the same moisture level (more on this below). Do not join fresh, wet clay to leather-hard clay.
Step 2: Score both surfaces. Use a needle tool, fork, loop tool, or a dedicated scoring tool to crosshatch the clay in a grid pattern. The scratches should be at least 2 to 3 mm deep and cover the full area that will be in contact. Score with firm, deliberate strokes. Light scratches on the surface are not enough.
Step 3: Apply slip to both scored surfaces. Use a brush or your finger to coat each scored area with a generous layer of slip. You want the slip to fill the grooves you just made. The surfaces should look visibly wet and slightly bubbly when they come together.
Step 4: Press the pieces together firmly. Do not just set one piece on top of the other. Press with real, even pressure across the entire join. If you are joining a handle to a mug, press with your thumb inside the cup while pushing the handle from outside. Flex the piece slightly as you press to make sure the surfaces are making full contact.
Step 5: Blend and reinforce the seam. Use a fingertip, a wooden tool, or a small coil of soft clay to blend the edge of the join into the surrounding wall. Smoothing the exterior alone is not enough. For a join with interior access, blend both sides.
Matching Moisture Levels
Leather-hard clay is the sweet spot for most joins. At leather-hard, the clay holds its shape but still has enough moisture to bond with a fresh surface and slip. Think of it like cold butter: firm enough to work with, but still responsive.
A quick test: press your fingernail gently into the surface. At leather-hard, it leaves a small mark without sticking to your nail. Too soft, and clay transfers to your nail. Too dry, and no mark appears at all.
When building with coils, you are often joining fresh coils to a gradually stiffening base. In that situation, keep the base covered with plastic between sessions so it does not dry ahead of the new coils. If the base does get too stiff, lightly mist the surface before scoring and slipping.
For slab work, let your slabs firm to leather-hard before assembling. Soft slabs will sag and warp when you stand them up, making it nearly impossible to hold a clean join.
Reinforcing with a Coil
For any structural join, a coil reinforcement is your insurance policy. Roll a small, soft coil of clay (about pencil thickness), press it into the inside corner of the join, and blend it thoroughly into both walls.
This technique is especially important for:
- Handles attached to mugs or pitchers
- Base-to-wall joins on slab boxes
- Attachments that will bear weight, like feet or spouts
- Any join where interior access is possible
The coil fills gaps, adds material to the seam, and gives you a lot more surface area to blend. Run your fingertip along the coil with steady pressure, working from the center out toward each end to avoid trapping air.
Drying Joins Slowly
Even a technically perfect join can crack during drying if it dries too fast. The join area has more moisture concentrated in it (from the slip), and if the surrounding clay dries faster than the seam, the tension can pull the join apart.
Cover finished pieces loosely with plastic sheeting and allow them to dry slowly over several days. A single layer of thin plastic draped over the work is usually enough to slow drying without creating condensation. For complex pieces with multiple joins, a plastic tent supported by a frame works well.
Check joins during the drying process. If you see a hairline crack forming, press a little fresh clay into it, blend it in, and slow the drying further. Catching a developing crack early is far easier than repairing one after bisque firing.
Common mistakes that cause cracking during drying:
- Leaving pieces in direct sunlight or near a heat source
- Drying one side of a piece faster than the other (rotate work if possible)
- Adding a wet piece to a drier base without adjusting moisture
- Forgetting to cover pieces overnight when studio temperature drops
- Rushing the process and trying to bisque before the piece is bone dry
Frequently Asked Questions
Can I use water instead of slip?
Water alone is not a reliable adhesive for clay. It can temporarily make a surface tacky, but it does not create a chemical or mechanical bond the way slip does. Water also causes the clay surface to become slippery and loose, which can actually weaken the joint. Use proper slip for any join that needs to survive drying and firing.
What if my pieces are already too dry to join?
If both pieces are beyond leather-hard and approaching bone dry, joining them reliably is very difficult. At that stage, the clay cannot absorb new moisture evenly, and any slip you apply is likely to crack off during drying. The safest approach is to let the pieces reach bone dry, bisque them separately, and use a kiln-safe adhesive (like a kiln wash or commercial ceramic adhesive) if you still need to attach them. For future projects, keep pieces wrapped in plastic to control drying rate.
How thick should the slip be?
Aim for the consistency of thick cream, roughly the texture of yogurt that has been stirred. Too thin, and it will not fill the scored grooves or provide enough material for a good bond. Too thick, and it will not flow into the texture you created. If your slip has been sitting, it may thicken over time; stir in a small amount of water to bring it back to the right consistency.
Do I need to score if the clay is still very soft?
Soft, fresh clay bonds more easily than leather-hard clay, but scoring and slipping is still good practice. The slip creates a consistent, workable interface between the two surfaces, and the scoring gives it somewhere to grip. If you are joining two very soft pieces, use less slip (so you do not add too much water) and press firmly to ensure full contact.
Why does my handle fall off after bisque firing?
Handle attachment failures almost always trace back to one of three causes: no scoring or insufficient scoring, joining at mismatched moisture levels, or drying too quickly. If handles are consistently failing, try letting both the mug body and the pulled handle firm to the same leather-hard stage before attaching, and make sure you are pressing with firm, even pressure and blending both edges of the attachment thoroughly.