Hand-Building
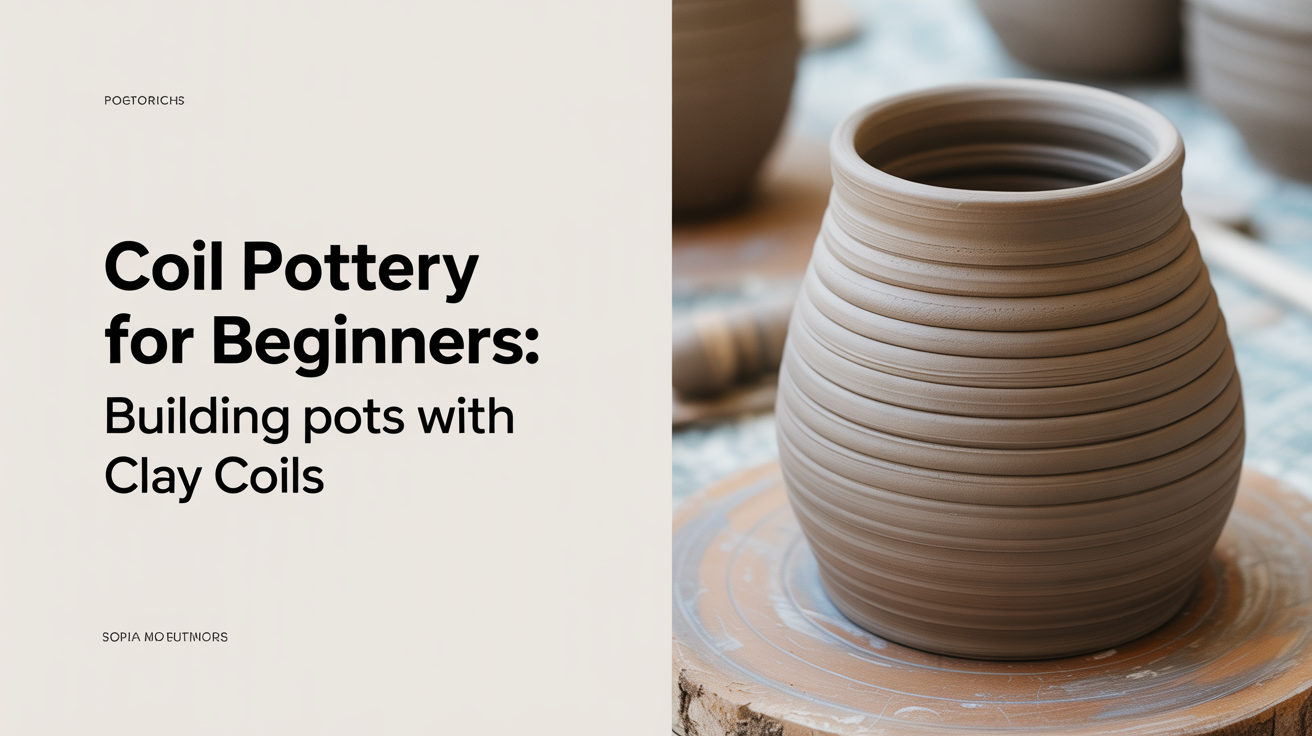
Coil Pottery for Beginners: Building Pots with Clay Coils
Learn coil pottery for beginners: how to roll even coils, build a base, stack and join layers, and finish a hand-built pot from scratch.
Coil pottery for beginners is one of the most approachable ways to start shaping clay by hand. You don't need a wheel, a kiln in your living room, or years of practice. All you really need is some clay, a wooden board to work on, and the patience to build your pot one rope of clay at a time.
This coil pot tutorial walks you through every step, from rolling your first coil to smoothing the walls before your piece goes to dry. By the end, you'll understand exactly how the coil building technique works and why it's been used by potters for thousands of years.
What You'll Need Before You Start
Gathering your tools first saves a lot of frustration mid-build. Here's a practical list for a beginner coil project:
Clay
- About 1–2 lbs of earthenware or stoneware clay (both work well for hand-building)
- A small cup of water
- Slip (clay mixed with water to a thick, yogurt-like consistency, used for joining)
Tools
- A wooden board or canvas-covered bat (your work surface)
- A wooden rolling pin or two guide sticks (to roll even coils)
- A serrated rib or fork (for scoring)
- A rubber or silicone rib (for smoothing)
- A sponge
- A wire cutter or thin string (for cutting clay)
- A plastic bag or damp cloth (to keep clay from drying too fast)
If you've already tried making a pinch pot as your first pottery project, you'll recognize some of these tools. The difference is that coil work gives you a lot more control over the final shape and size.
Rolling Even Coils: The Foundation of the Technique
The quality of your finished pot depends heavily on how well you roll your coils. Uneven coils are harder to stack, harder to blend, and more likely to crack as the piece dries.
How to Roll a Coil
- Pinch off a piece of clay roughly the size of a golf ball.
- Place it on your work surface and press it into a rough cylinder with your palms.
- Begin rolling from the center outward, using light, even pressure. Move both hands slowly toward the ends of the coil as you roll.
- Aim for a coil about 1.5 cm thick (roughly the width of your index finger). Thinner than that and the walls will be fragile; thicker and they'll be heavy to work with.
- Roll to a length of about 15–20 cm. You'll cut or adjust as needed when you start building.
Common beginner problem: pressing down too hard in the middle. This leaves a fat center and thin, tapered ends. If that happens, just fold the coil back on itself and start over. Reconditioning a bad coil takes ten seconds.
Keep finished coils covered with a damp cloth so they stay pliable while you work on the base.
Building the Base
A solid base is what the rest of your pot rests on. There are two ways to make one: a coiled spiral or a flat slab.
Option 1: Coiled Base
- Take one of your coils and coil it into a flat spiral, starting from the center.
- Press the coils together gently so they touch along their full length.
- Use your thumb or a rib to blend the gaps on the top surface until it looks like a solid disk.
- Flip the base over and blend the underside too.
Option 2: Slab Base (Often Easier for Beginners)
Roll out a flat slab about 1 cm thick, then cut a circle or square the size you want the bottom of your pot. This is faster and gives you a clean, flat bottom. If you want to explore this method more, slab pottery for beginners goes into full detail on working with flat clay.
Either way, once the base is ready, set it on your wooden board. You'll build up from here.
Stacking and Joining Coils
This is the heart of the coil building technique. You'll be stacking coil after coil, scoring and slipping each one into place before it can dry.
Step-by-Step Coil Stacking
- Score the top edge of your base with a fork or serrated rib. Use short, crosshatch scratches, not long parallel lines. You want a rough surface, not grooves.
- Apply a thin layer of slip to the scored area with your finger or a brush.
- Lay your first coil around the perimeter of the base. If your base is round, form the coil into a ring and press the two ends together, blending the join so there's no seam.
- Press the coil down gently so it seats firmly on the base. Don't mash it, just make sure there are no air gaps.
- Score the top of that coil and apply slip before adding the next one.
- Repeat, building up the walls one coil at a time.
A few things to keep in mind as you build:
- Work with leather-hard clay below, soft clay above. If your lower coils get too soft, the whole pot can slump. Give the bottom a few minutes to firm up if it starts to feel unstable.
- Control the shape by placement. Stack coils slightly inward to narrow the pot, slightly outward to widen it. This is the whole geometry of coil building.
- Don't add more than 4–5 coils in one session if you're working with a tall or wide pot. Let it rest under a loose plastic bag for an hour, then come back.
For a deeper look at why scoring and slipping matters so much, how to score and slip for joining clay explains the mechanics and what goes wrong when you skip the step.
Blending and Smoothing the Walls
Raw stacked coils look rough and unfinished. Blending is what turns a pile of clay ropes into a real pot with structural strength. Un-blended coils are weak at their seams and will crack when the piece dries or is fired.
Blending the Inside
This is done first and matters most. The inside of the wall is where your joins are under the most stress.
- Use your finger or a wooden tool to blend clay downward and upward across each coil join on the interior surface.
- Work in small circular or C-shaped strokes. You're not smoothing yet, you're fusing the layers.
- Keep your finger slightly damp (not wet) to avoid dragging the clay.
Blending the Outside
Once the inside is consolidated:
- Hold one hand on the inside of the pot to provide support.
- Use a rubber rib on the outside to blend and compress the surface in long, smooth strokes.
- Work from the bottom up.
- For texture, you can leave the outside with some coil marks showing. This is a legitimate aesthetic choice, not just a beginner shortcut.
Final Smoothing
After blending, go over the whole surface with a damp sponge. This closes tiny surface cracks and compresses the clay. Don't rub hard. Gentle pressure is enough.
Drying and What Comes Next
How you dry a coil pot matters as much as how you build it.
- Dry slowly. Fast drying causes cracks, especially if the walls are uneven in thickness. Cover loosely with plastic for the first 24 hours.
- Let it dry completely before firing. This takes anywhere from a few days to a week depending on thickness and humidity. The clay should feel room temperature to the touch, not cool. Cool means moisture is still present.
- Trim the base if needed once the pot reaches leather-hard stage. This is also the point to add feet, a rim, or any surface decoration.
After bisque firing, you can apply glaze and fire again. But that's a separate chapter.
Frequently Asked Questions
What clay is best for coil pottery for beginners?
Earthenware is the most forgiving choice. It stays workable longer, fires at lower temperatures, and is widely available at ceramic supply stores. Stoneware also works well and is more durable after firing, but it dries a little faster, so you'll need to work more quickly or keep things well covered.
Why do my coils crack when I add them?
Cracking usually means the coil or the base dried out before you joined them. Always score and slip before placing a new coil, and keep everything under a damp cloth when you're not actively working. If a coil has dried past the plastic stage (it snaps instead of bends), recycle it and roll a fresh one.
How thick should the walls of a coil pot be?
For a beginner project, aim for walls between 0.8 cm and 1.2 cm. Thinner than that and the pot is fragile; thicker and drying takes much longer and the pot risks cracking from uneven shrinkage. Even wall thickness throughout the piece matters more than the exact number.
Do I have to blend the outside smooth?
No. Many potters intentionally leave coil texture visible on the exterior as a design feature. What you must do is blend the inside seams completely. Interior joins carry structural load; exterior texture is mostly aesthetic.
Can I do coil pottery without a kiln?
You can build and enjoy the process without firing. Air-dry clay (which doesn't require a kiln) can be used for decorative pieces. For functional, waterproof pottery, you do need firing. Many community centers, pottery studios, and art schools offer open studio time or single-fire services if you don't own a kiln.