Hand-Building
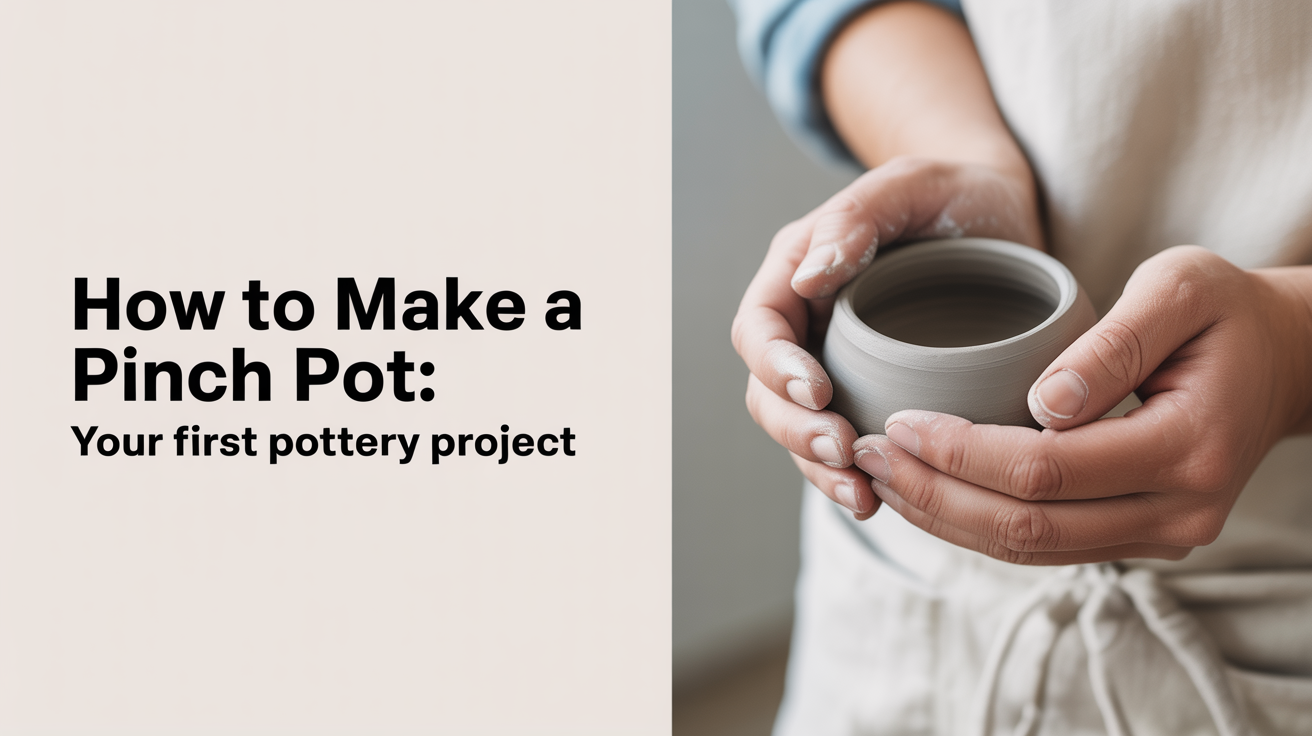
How to Make a Pinch Pot: Your First Pottery Project
Learn how to make a pinch pot step by step — the perfect first pottery project for beginners. No wheel needed, just clay and your hands.
If you've never touched clay before, learning how to make a pinch pot is the best place to start. You need no wheel, no special equipment, and no prior experience, just a lump of clay and a bit of patience. In about an hour you can have a small, usable bowl sitting on your worktable.
What You'll Need Before You Start
Gather everything before you sit down. Stopping mid-build to hunt for tools throws off your rhythm and lets the clay stiffen at the wrong moment.
Clay
For a first pinch pot, use a smooth earthenware or stoneware with a fine grog content (25 mesh or finer). Heavily grogged clays feel rough against your thumbs during extended pinching and can tear thin walls. Air-dry clay works if you have no kiln access, but real pottery clay, the kind you fire, is far more satisfying and teaches you how the material actually behaves.
Start with a ball roughly the size of a large orange, about 200–250 grams. That's enough clay to build a bowl with a 10–12 cm diameter. Smaller than that and the walls become difficult to control; larger and the project gets unwieldy while you're still learning the feel.
Tools and Materials
- Pottery clay (earthenware or stoneware, smooth-body), 200–250 g per pot
- Wooden bat or canvas board to work on (canvas stops the clay sticking)
- Small bowl of water (you'll use less than you think)
- Wire clay cutter for slicing fresh clay from the block
- Wooden rib or kidney to smooth interior curves
- Sponge for finishing touches
- Plastic bag or damp cloth to cover work-in-progress and slow drying
That's the complete list. No extruders, no wheel bats, nothing expensive.
How to Prepare Your Clay
Clay straight from the bag sometimes has air pockets trapped inside. These expand during firing and can crack or even explode a pot in the kiln. A few minutes of wedging beforehand removes them.
Slam the clay down on a clean canvas surface ten to fifteen times, rotating it a quarter turn between each slam. Then push the heel of your hand down and forward through the mass, fold it back toward you, and repeat. After twenty to thirty passes the clay should feel smooth and uniform, with no lumps or sticky spots. If you press a finger in and pull it away cleanly without strings of clay following, you're ready.
Roll the wedged clay into a smooth sphere between your palms. Any cracks on the surface at this point mean the clay is a little dry. Add moisture by pressing a damp sponge against the ball and re-rolling rather than dunking the whole thing in water.
Step-by-Step: The Pinch Pot Technique
This is the core of the easy pinch pot method. Work slowly, especially on your first attempt. Speed comes later.
-
Open the ball. Hold the clay sphere in your non-dominant hand. Push your dominant thumb straight down into the center, stopping about 1 cm from the bottom. That 1 cm becomes the base of your pot. Going deeper risks punching through.
-
Begin pinching. With your thumb inside and two or three fingers outside, gently squeeze the walls. Rotate the ball a few degrees after each pinch. Think of it as squeezing in one spot, rotating slightly, squeezing again, rather than squeezing all the way around in one pass.
-
Work from bottom to top. Start each round of pinching near the base and spiral upward. This builds the walls evenly rather than thinning one zone before another.
-
Keep walls even. Aim for 6–8 mm thick walls throughout. Thinner than 4 mm and beginner walls tend to crack during drying. Thicker than 10 mm and the pot takes a long time to dry and can crack from uneven shrinkage. Check thickness by gently pressing between thumb and index finger and trying to feel whether one zone is noticeably thinner.
-
Correct the rim. After three or four rounds of pinching, the rim often becomes wavy and uneven. That's normal. Use your fingertips to gently press uneven spots down, or let it stay organic, a wavy rim on a hand-built pot has its own character.
-
Refine the shape. Once the walls are at the right height (around 6–8 cm for a small bowl), use a wooden rib held flat against the inside curve to smooth out finger ridges. On the outside, a gentle rocking motion with your palm rounds the belly nicely.
-
Flatten the base. Set the pot upright on your board and tap it gently to flatten the bottom. A pot that rocks is frustrating on a table. Alternatively, carve a small foot ring after the clay stiffens to leather-hard.
-
Smooth and refine. Dampen a sponge and run it lightly over the surface. Don't scrub, a light, even pass lifts small bumps and closes tiny surface cracks. Avoid adding too much water, which can weaken the clay.
-
Let it dry slowly. Cover the pot loosely with a plastic bag for the first day. This slows surface drying so the inside and outside shrink at close to the same rate. After 24 hours, remove the bag and let it air-dry fully to leather-hard before firing.
Shaping and Finishing Your Pinch Pot
Once you've got the basic bowl shape down, you can adjust it in several directions while the clay is still soft.
Making It Wider
Hold the pot in both hands and use your thumbs on the outside and fingers inside to gently stretch the walls outward. Work evenly around the circumference rather than pushing hard in one spot.
Making It Taller
Resist the urge to pinch too aggressively upward. Instead, let the walls thicken slightly, then do another slow spiral of pinching from the base. Height comes from patient, repeated passes, not one hard stretch.
Adding Handles or Decoration
If you want to attach a small pulled handle or a coil decoration, the pot and the piece you're attaching both need to be at the same level of stiffness, ideally soft leather-hard. Attaching wet clay to nearly-dry clay almost always causes cracking at the joint. Score both surfaces and apply slip before joining. For a thorough explanation of that process, see how to score and slip: joining clay so it doesn't crack.
Common Pinch Pot Problems (and How to Fix Them)
Cracks in the Rim
This usually means the clay dried too fast at the top while you were working. Keep a damp sponge nearby and moisten the rim every few minutes. If a crack appears, press it closed and smooth over it with a damp finger before it dries further.
Uneven Wall Thickness
Thick spots at the bottom with thin spots near the rim are the most common beginner pattern. The fix is to start each spiral of pinching lower than you think you need to. The walls already thin out naturally as you work upward.
The Base Is Too Thin
If you push your thumb in too far, the base gets paper-thin and the whole pot loses structural integrity. Roll a small coil, press it onto the inside base, and blend it in carefully. It's an easy repair that most people never notice once the pot is fired.
Fingerprints and Ridges
A few passes with a damp wooden rib on the inside and a soft sponge on the outside remove most surface marks. Some potters leave fingerprints deliberately, they're an honest record of the hand that made the piece.
Taking the Next Step
The pinch pot technique is a complete method on its own, but it also shares DNA with more complex hand-building approaches. Once you're comfortable pinching, two natural next moves are building with coils or working with flat slabs.
Coil building lets you make taller, more sculptural forms by stacking ropes of clay. The coiling rhythm has a meditative quality similar to pinching, and the skills transfer directly. If that sounds appealing, coil pottery for beginners: building pots with clay coils walks through the whole process.
Slab building opens up geometric forms, boxes, tiles, mugs with squared sides, that pinching can't easily achieve. It requires a rolling pin or slab roller, but the concept is simple. Slab pottery for beginners: making pots from flat clay covers everything from rolling an even slab to assembling the final piece.
Frequently Asked Questions
How long does it take to make a pinch pot?
The actual building takes 20 to 40 minutes once you have your clay wedged and your tools ready. Drying to leather-hard takes 24 to 48 hours depending on humidity and air temperature. Full bone-dry before firing usually takes three to five days for a small piece.
Do I need a kiln to make a pinch pot?
For a permanent, waterproof pot you need a kiln, either your own or access to one through a local studio. Air-dry clay is a reasonable alternative for decorative pieces, but it stays porous and can soften if it gets wet. Many community colleges and ceramics studios offer open studio time with kiln access for a modest fee.
What's the right clay for pinch pot for beginners?
A smooth-body earthenware or stoneware with little or no grog is easiest on your thumbs during extended pinching sessions. Avoid heavily grogged sculptural clays for your first few pots. Most pottery suppliers sell a "beginner" or "hand-building" body that fits exactly what you need.
Why did my pinch pot crack while drying?
Cracks during drying almost always trace back to one of two causes: walls of uneven thickness (one zone dries and shrinks faster than another) or drying too quickly. Cover the pot with a loose plastic bag for the first 24 hours and let it dry slowly. If cracks appear while the clay is still soft, press them closed and smooth over immediately.
Can I make a pinch pot with air-dry clay from a craft store?
Yes, and it's a perfectly reasonable way to practice the pinch pot technique before investing in pottery clay and kiln time. The working properties are a bit different, air-dry clay can feel stickier and tends to crack more easily if it dries out mid-session, but the pinching motion and wall-building logic are identical. Keep a damp cloth over unused portions while you work.