Getting Started
Pottery for Absolute Beginners: How to Start Making Things from Clay
New to clay? This guide covers everything about pottery for beginners: tools, clay types, hand-building basics, and your first steps in the studio.
Pottery for beginners is more accessible than most people expect. You don't need a wheel, a kiln, or years of art school behind you to start making things from clay. All you really need is a few pounds of clay, a handful of basic tools, and a willingness to let the first few pieces be ugly.
This guide covers how to start pottery from scratch: what to buy, what to learn first, and what to realistically expect in those early weeks.
What Kind of Potter Do You Want to Be?
Before you spend a dollar on supplies, it helps to have a loose sense of where you want to take this. Pottery splits into two main paths: hand-building and wheel-throwing. Both work with the same clay. Both fire in the same kilns. But they feel completely different to practice, and the tools each requires are distinct.
Hand-building means shaping clay with your hands, simple tools, and techniques like pinching, coiling, or rolling slabs. It's slower, quieter, and genuinely forgiving for beginners. You can do it at a kitchen table with a $20 bag of clay.
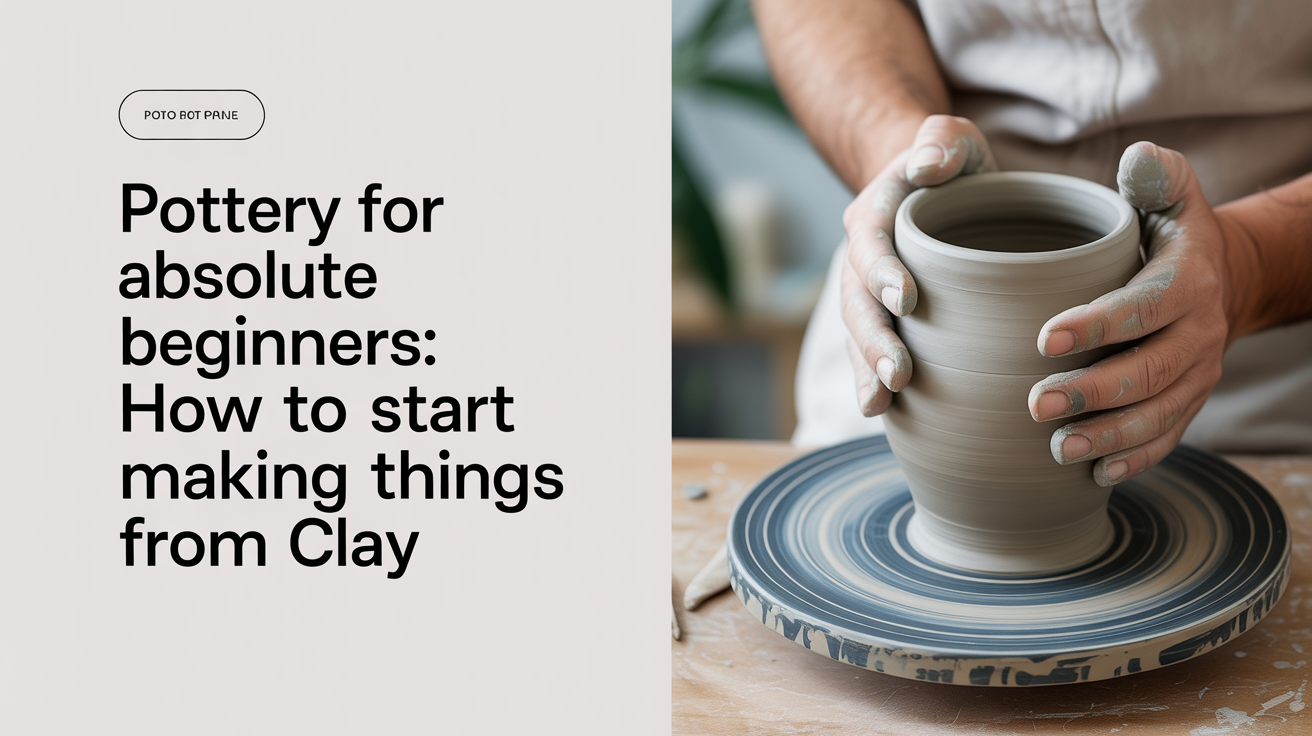
Wheel-throwing is what most people picture: clay spinning on a rotating wheel while you shape it with wet hands. It looks meditative and satisfying, and it is, once you've done it for about 40 hours. The first sessions are humbling. Wheels also cost $400 to $800 new, which changes the calculus on how to start.
If you're just getting into pottery and haven't touched clay as an adult, hand-building first is a reasonable choice. You learn how clay behaves, how thick walls need to be, how much water weakens a piece, and how to judge dryness, all without the added variable of a spinning wheel. You can always add the wheel later. Read more about this tradeoff in this guide on hand-building vs. throwing and whether you need a pottery wheel to start.
Choosing the Right Clay for Your First Project
Clay is not all the same. The type you choose affects how it feels to work with, what temperature it fires at, and whether your finished piece is food-safe or purely decorative.
Earthenware
Earthenware is the softest, most porous clay body available. It fires at low temperatures (cone 06 to cone 2, roughly 1800°F to 2100°F) and stays relatively porous unless fully glazed. It's easy to work with by hand and widely available at pottery supply stores. Terra cotta is one of the most familiar earthenware clays. The downside: pieces fired at cone 06 are more fragile than stoneware and can absorb water if left unglazed.
Stoneware
Stoneware fires at higher temperatures (cone 6 to cone 10, around 2200°F to 2350°F) and becomes dense, strong, and chip-resistant. It's what most functional pottery (mugs, bowls, plates) is made from. If you're planning to eventually make things you'll actually use in a kitchen, stoneware is the clay to learn on.
Polymer Clay and Air-Dry Clay
Neither of these requires a kiln, which makes them appealing for total beginners. Polymer clay bakes in a home oven (around 275°F). Air-dry clay just dries at room temperature. Both are good for small decorative objects. Neither is food-safe or durable the way fired clay is. If making functional pottery is your goal, plan for a kiln or kiln access from the start.
A Practical Clay Chart for Beginners
| Clay Type | Fire Temp | Kiln Needed | Good For |
|---|---|---|---|
| Earthenware | Cone 06–2 (1800–2100°F) | Yes | Decorative pieces, sculpture |
| Stoneware | Cone 6–10 (2200–2350°F) | Yes | Mugs, bowls, functional ware |
| Air-dry clay | Room temp | No | Decorative, practice pieces |
| Polymer clay | ~275°F oven | No | Small decorative items |
For most beginners who want to eventually fire real work, a 25-pound bag of mid-fire stoneware (cone 6) is a solid starting point. It costs around $25 to $35 and gives you enough material to make mistakes and still produce a few pieces worth keeping.
The Tools You Actually Need
Pottery supply catalogs can make it look like you need $300 worth of specialty tools before you touch clay. You don't. For hand-building, you can start with almost nothing.
The short list for a first session:
- A wire clay cutter (around $3) to slice sections off the bag
- A wooden rib or smooth wooden dowel for smoothing surfaces
- A loop tool or ribbon tool for carving and trimming
- A needle tool for scoring surfaces before joining pieces
- A sponge for keeping your hands and clay moist
- A non-stick work surface: canvas, a cloth placemat, or a wooden board all work
That's it to start. A lot of the specialty tools, like serrated ribs, hole cutters, and texture stamps, are nice to have but won't change what you're capable of making in the first month. For a fuller breakdown of what's worth buying versus what you can skip, see this guide on the pottery tools beginners actually need.
Your First Hand-Building Techniques
Three techniques cover nearly everything you'll make in hand-building. Learn them in this order.
Pinch Pots
Take a ball of clay about the size of a tennis ball (roughly 8 to 10 ounces). Press your thumb into the center until you're about a half-inch from the bottom. Then rotate the ball slowly with one hand while pinching the walls between your thumb and fingers with the other. The goal is even walls, around a quarter-inch thick. Thinner walls crack when drying; thicker walls take forever to dry and can crack in the kiln.
Your first pinch pot will probably be uneven, with one side thicker than the other. That's fine. Make five of them before you try to make a good one.
Coil Building
Roll clay into ropes about the diameter of a finger. Stack them in circles to build up the walls of a vessel, then smooth the coils together (especially on the inside) so they bond properly. Coil pots can get large and surprisingly thin-walled once you develop the technique. The key is making sure each coil is well-joined to the one below it before adding the next.
Slab Building
Roll clay out to an even thickness (a quarter inch for small pieces, a bit thicker for anything structural) using a rolling pin and two guide sticks of equal thickness laid on either side. Cut the slab to shape with a needle tool, then join pieces together by scoring both surfaces, applying slip (clay thinned to the consistency of yogurt), and pressing them firmly together.
Slab building opens up boxes, plates, and angular forms that pinching and coiling can't easily produce.
Drying, Firing, and Glazing: The Process After You've Made Something
Making the object is only the first third of pottery. What happens after matters just as much.
Drying takes longer than most beginners expect. A small pinch pot might dry in 24 to 48 hours in a warm, dry room. A thicker slab piece can take a week. Drying too fast causes cracking, especially at rims and joins. Cover pieces loosely with plastic to slow the process if your studio is dry or warm.
Once bone dry (fully pale in color, cool to the touch but not cold), clay is in its greenware state and ready for a bisque firing. In a bisque firing, the kiln heats to around cone 06 (roughly 1830°F) slowly over 8 to 12 hours. This burns off organic material and hardens the clay into a porous, unglazed state.
After bisque, you apply glaze. Glaze is essentially ground glass suspended in water. It melts in the kiln and fuses to the clay surface. A glaze firing brings the temperature up to the clay's rated cone, usually cone 6 for most mid-fire stoneware (about 2230°F), over another 8 to 12 hours.
If you don't have a kiln at home, community pottery studios and community colleges often offer kiln access and sometimes classes. Some ceramic supply stores will fire student work for a fee per cubic inch. Getting kiln access sorted out is worth doing before you've accumulated 20 damp pots with nowhere to go. For more on putting together a workable home setup, the guide on setting up a small pottery studio at home covers the logistics in detail.
Realistic Expectations for Your First Month
People often start pottery expecting to feel graceful and meditative from session one. The reality is that first pieces often look worse than expected, clay dries faster than expected, and joins crack in places you thought were solid.
Here's what a reasonable first month actually looks like:
- Week 1: Learn to wedge clay (kneading it to remove air bubbles), make three or four pinch pots. One might crack. Toss it and make another.
- Week 2: Try coil building. Build something taller than a pinch pot.
- Week 3: Roll a slab. Make a simple box or tile. Score-and-slip joints carefully.
- Week 4: Let everything dry properly, then get pieces to a kiln for bisque firing.
You won't produce a portfolio in a month. You will learn how clay moves, what walls that are too thin feel like before they collapse, and how satisfying it is to hold a cup you made from scratch. That's the actual payoff at this stage.
Frequently Asked Questions
Do I need a pottery wheel to start?
No. Hand-building is a complete and serious discipline, not a stepping stone to the wheel. Many professional potters hand-build exclusively. Starting with hand-building also gives you a better understanding of clay behavior before adding the complexity of a spinning wheel.
How much does it cost to get started with pottery for beginners?
A basic hand-building setup (25 lbs of clay, a wire cutter, a needle tool, a sponge, and a loop tool) costs roughly $50 to $70. Kiln access through a community studio typically runs $10 to $30 per firing load. Taking a beginner class at a community studio (which usually includes materials and kiln time) typically costs $150 to $300 for an 8-week session and is often the most efficient way to start.
How long does pottery take to learn?
You can make recognizable, functional objects in your first few sessions. Making them consistently, with even walls and reliable joins, takes several months of regular practice. Developing a real technical vocabulary (throwing centered forms, reliable trimming, controlled glazing) is a years-long process. Most potters will tell you they're still learning.
Can I fire clay in a regular home oven?
No. Regular clay requires kiln temperatures between 1800°F and 2350°F. A home oven maxes out around 500°F. The exception is polymer clay, which bakes at oven-safe temperatures but isn't real clay and doesn't produce functional pottery. Air-dry clay requires no heat but is fragile and not food-safe.
What's the difference between greenware, bisqueware, and glazeware?
Greenware is unfired, bone-dry clay. It's fragile and will dissolve in water. Bisqueware has been through a first firing (around cone 06) and is hard and porous, ready to receive glaze. Glazeware has been through a glaze firing at the clay's rated temperature and is finished, durable, and (if properly glazed) food-safe.