Clay & Materials
How to Test a New Bag of Clay Before You Throw or Build
Learn how to test pottery clay for plasticity, air, and moisture with simple hand checks before your first pull or pinch, wheel or hand-building.
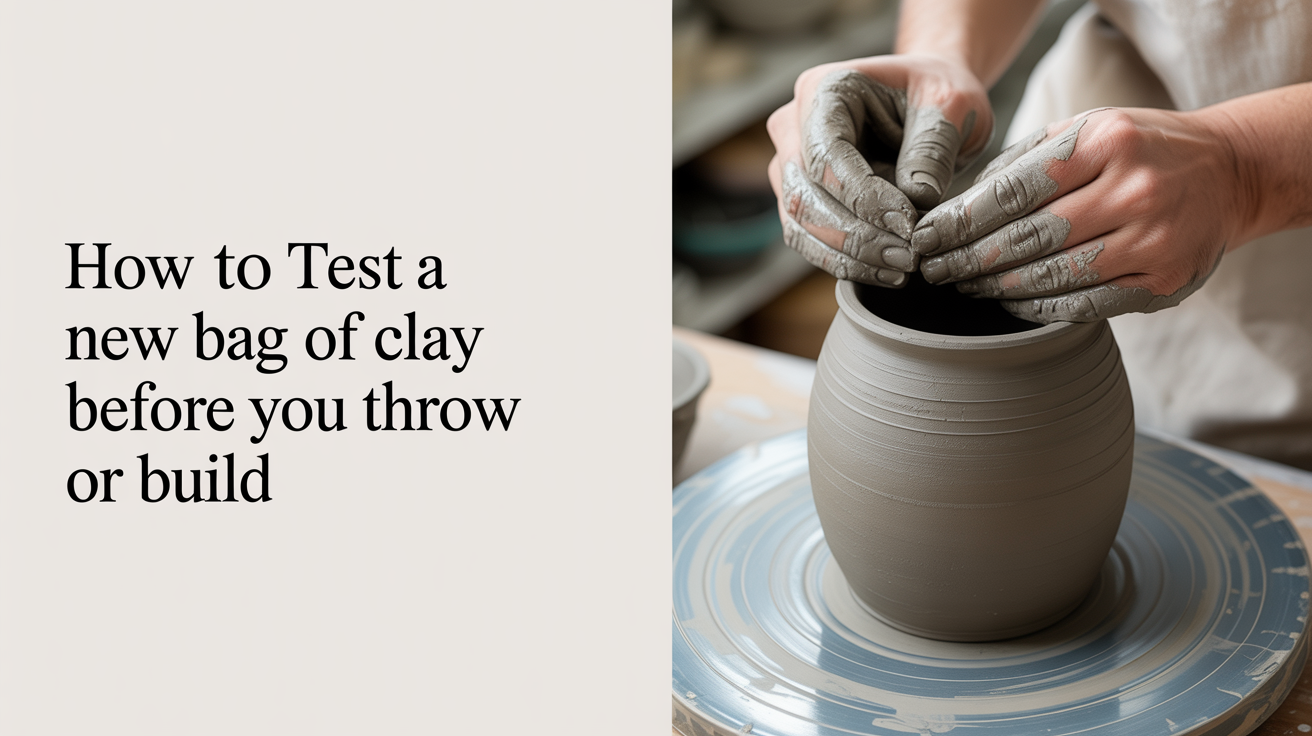
You just cut the plastic off a fresh bag of clay, or dug a chunk out of your reclaim bucket, and now you're standing at the wheel or the table wondering if it's actually ready. This is the moment most beginners skip, and it's the reason so many first pots collapse for reasons that have nothing to do with skill. Learning how to test pottery clay before you commit twenty minutes to centering it, or an hour to coiling a pot, saves you from fighting the material instead of shaping it. None of these checks require special tools, just a few minutes and attention to what your hands are already telling you.
The coil bend test for plasticity
Plasticity is the clay's ability to bend and hold a new shape without cracking or crumbling. It's the single most important property for both throwing and hand-building, and it's easy to check in under a minute.
Pinch off a piece about the size of a golf ball and roll it into a coil roughly as thick as your finger, maybe 5 to 6 inches long. Bend that coil around your finger or into a tight loop, then read the result:
- Smooth curve, no cracks. The clay is plastic and ready to work. This is what you want.
- Fine surface cracks on the outside of the bend. Borderline. The clay may throw or build fine for now but will be less forgiving on thin walls or sharp folds. A short wedging session often tightens this up.
- Deep cracks or the coil breaks apart. The clay is too dry, too short (lacking plasticity from its particle structure), or both, and needs rehydrating or reworking before you use it, or blending with a more plastic clay.
Test more than one spot in the bag, especially near the edges and the center. Clay doesn't always dry or hydrate evenly, particularly if it's been sitting in a warehouse or a garage through a season of temperature swings.
Checking for trapped air and lumps
Air pockets are invisible until a pot is centering on the wheel and a soft spot appears out of nowhere, or a handbuilt piece is drying and a hidden bubble pushes a bulge through the wall.
Cut a chunk of clay in half with a wire tool rather than tearing it, which hides the cross-section. Look for small round or elongated voids (air bubbles from bagging), hard dry flecks or crumbs (drier clay folded in without blending), or a visibly different color band, which usually means two moisture levels sitting side by side.
None of this is unusual in a new bag, and none of it is a reason to return it. It's a reason to wedge before you start, which is exactly what wedging is for. If you've never learned the motion, how to wedge clay and why you have to walks through the spiral and ram's head methods and what each one does to the clay.
Judging moisture by feel
Moisture is hard to describe in words because it really is a feel, but there are landmarks to check against.
Press your thumb into a fresh-cut face of the clay. It should leave a clean indent without sticking or clinging to your skin in strings. If your thumb comes away nearly clean and the indent holds its shape, that's a good working range for most beginner projects.
Too wet shows up as clay that sticks heavily to your hands, slumps under its own weight when you stand a coil upright, and feels cool and slick rather than firm. It's genuinely hard to center on the wheel because it won't hold a shape long enough for your hands to find it.
Too dry shows up as clay that resists your thumb, feels stiff even when you knead it, and won't take a fingerprint cleanly. It resists centering just as much as wet clay, but for the opposite reason: it fights every move instead of yielding to it.
Clay in good working condition feels like a firm, cool piece of dough that gives evenly under pressure. If it feels like modeling wax, or like it wants to crumble, you're outside the useful range.
Why stiff or soft clay causes trouble later
It's tempting to push through with clay that's a little off, and sometimes you can. But the problems tend to show up later, not immediately, which is what makes them frustrating.
Clay that's too soft centers reluctantly on the wheel, wobbles as you pull walls, and often can't hold height, the walls lean and slump before you get a chance to shape them. In hand-building, soft slabs sag under their own weight and joins won't hold their form while they set.
Clay that's too stiff fights you at every stage instead. On the wheel it resists opening and coning, and pulling a wall from it takes more pressure than it should, producing uneven thickness because your hands compensate unevenly. In hand-building, stiff clay cracks at folds and doesn't compress well at seams, so a join that looks fine when you make it can open up as the piece dries.
Either extreme also makes drying cracks more likely later, since unevenly hydrated clay dries unevenly too. Catching this now, with a coil bend and a thumb press, is far cheaper than catching it after a piece cracks on the shelf.
New commercial bags still need a little wedging
It's a common assumption that a fresh bag is ready straight out of the plastic. Mostly, it's close. Pugmills compress and mix clay well, but bags can still develop soft spots near the seal, firmer clay near the edges, or an occasional air pocket from the pugging process.
A short wedging session, even 15 to 20 spirals or ram's head compressions, evens that out and warms the clay with the heat of your hands, making it easier to center. Skipping this because "it's a new bag" is a common reason beginners struggle with clay that should have been easy to work.
If you're still deciding which clay to start with in the first place, what clay should a beginner buy first covers the tradeoffs between stoneware, earthenware, and porcelain for a first bag.
Extra checks for home-reclaimed clay
Reclaimed clay deserves a more thorough check than a fresh bag, because it's been through more variables: mixed scraps of different ages, uneven drying, and a rehydration process that doesn't always reach every part evenly. Beyond the coil bend and thumb press, do these extra checks:
- Cut all the way through a larger chunk, not just a corner, since reclaim often hides a drier core surrounded by softer clay wetted from the outside in.
- Check for grit or foreign material. Reclaim buckets accumulate dust, stray glaze specks, or sponge and tool debris if you're not careful about what goes in.
- Smell it. Reclaim that's sat wet a long stretch, especially somewhere warm, can develop a sour smell from bacterial activity. A mild earthy smell is normal; a strong sour or rotten smell means caution, particularly for anything food-related.
- Wedge longer than a fresh bag. Reclaim needs more work to blend evenly, since it started as multiple pieces at different moisture levels rather than one batch.
If your reclaim bucket has been neglected and turned into something between a brick and a swamp, how to reclaim and recycle dried-out clay covers the slaking and drying-down process to bring it back to a workable state.
What to do when clay fails a test
If your clay fails the coil bend test, or feels well outside the moisture range you want, don't force it onto the wheel and hope. Here's the short version:
- Too dry or cracking: Wedge in small amounts of water, a spritz at a time, folding it in fully, then wrap tightly in plastic for a few hours so the moisture distributes before testing again.
- Too wet or slumping: Wedge the clay on a plaster bat or dry canvas, which pulls excess moisture out as you work it. This takes patience; don't try to fix it in one pass.
- Lots of air or lumps: A longer, more deliberate spiral wedging session usually resolves this without adding or removing any moisture.
- Sour-smelling reclaim: Weigh whether it's worth reworking versus starting a fresh batch.
Once you've reworked it, run the coil bend test again before committing real time to a piece. It takes a minute and tells you far more than guessing. Once the clay is in good shape, keeping it that way matters too. If pieces you're not using yet keep drying out between sessions, how to store clay so it stays soft and workable covers wrapping and container habits that stop this from becoming a repeat problem.
Frequently Asked Questions
How long should I wedge a new bag of clay before using it?
For a fresh bag that passes the coil bend test, 15 to 20 spirals or ram's head compressions is usually enough. Reclaimed clay or clay that showed cracks needs longer, sometimes several minutes of steady wedging.
Can I still use clay that has a few small air bubbles?
Small, scattered bubbles are common and get worked out during normal wedging. If bubbles keep reappearing after thorough wedging, the clay may be too stiff to compress evenly, and softening it slightly can help.
Why does my clay pass the coil test but still crack on the wheel?
The coil test checks plasticity, but centering also depends on even moisture throughout the piece, not just at the surface you tested. Cut all the way through a larger piece, not just a corner, to rule out a drier core hiding under a soft outer layer.
How do I know if my reclaimed clay is too far gone to use?
If it smells strongly sour or rotten rather than mildly earthy, or has visible mold, grit, or debris you can't wedge out, start a new reclaim batch instead. Clay that's simply dried out or unevenly hydrated, without those issues, can almost always be brought back with slaking and wedging.