Clay & Materials
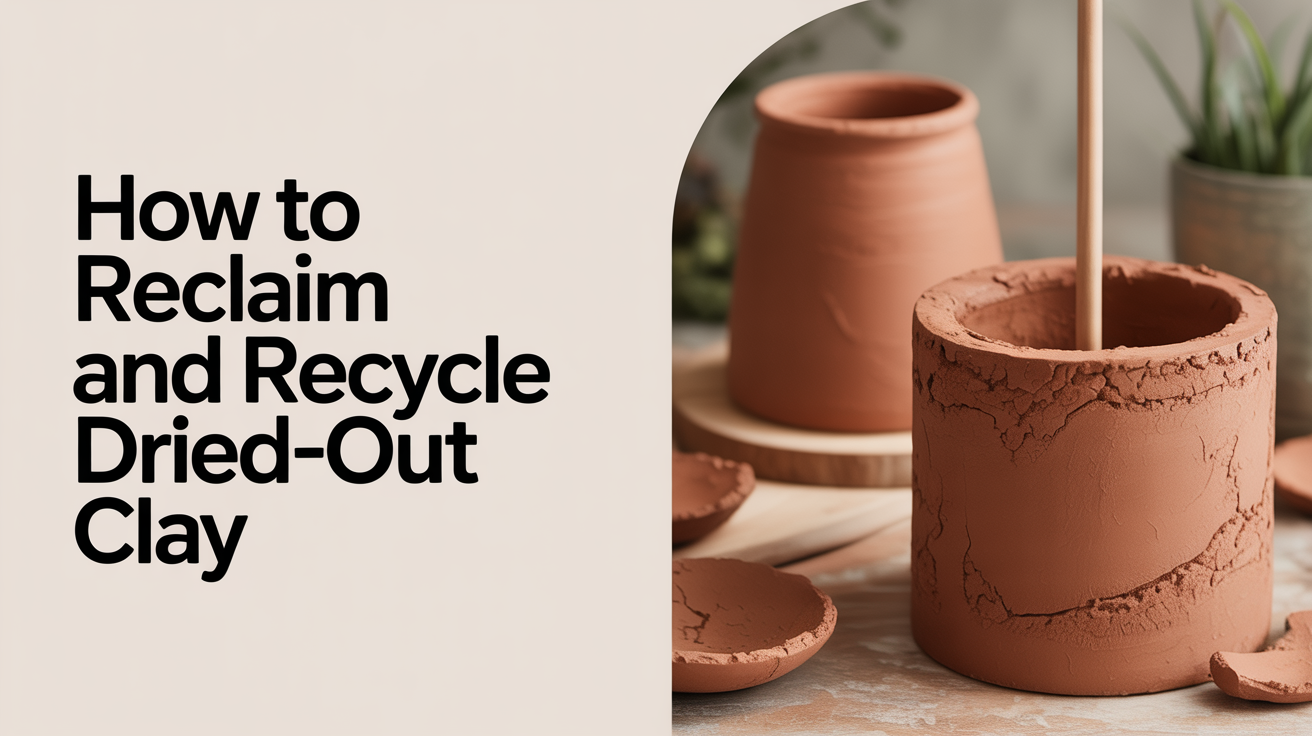
How to Reclaim and Recycle Dried-Out Clay
Learn how to reclaim clay scraps and rehydrate dried-out pottery clay step by step. A practical beginner's guide to recycling clay so nothing goes to waste.
Dried trimmings, cracked pots, and bone-dry test tiles don't have to end up in the bin. Reclaiming clay is the process of breaking down dried or near-dry scraps and working them back into usable clay. It takes a bit of patience and a couple of days, but the payoff is a fresh, plastic body ready for wedging. Most studio potters reclaim as a matter of habit, and once you have a system, it becomes just another part of the rhythm.
What Clay Can Be Reclaimed
Almost any unfired clay can be reclaimed. The main rule is that the clay must not have been fired, even at bisque temperature. Once clay goes through a firing it undergoes irreversible chemical changes, and those particles will not rehydrate into workable clay. They can, however, be ground down and used as grog.
Good candidates for reclaiming:
- Trimmings and shavings from the wheel
- Off-cuts from slab-rolling
- Failed pots that cracked or warped during drying
- Scraps left on the wedging table
- Clay that dried out in the bag before you could use it
Avoid mixing different clay bodies in one reclaim batch. Stoneware and earthenware fire at different temperatures, and a mixed batch becomes unpredictable in the kiln. If you work with multiple bodies, keep separate reclaim buckets and label them clearly. For more on the differences between clay bodies and why they matter, see types of clay for pottery: earthenware, stoneware, and porcelain explained.
What You Need
The equipment list is short and most of it is already in a basic studio:
| Item | Notes |
|---|---|
| Bucket (5-gallon or larger) | One per clay body |
| Water | Tap water works fine |
| Plaster batt, canvas, or drying board | Absorbs moisture from the slop |
| Old wire tool or mallet | For breaking up dry chunks |
| Wedging surface | For the final step |
A plaster batt speeds drying considerably and is the traditional choice in production studios. Canvas or an unglazed piece of wood will work in a home setup, though drying takes longer. Do not use plastic sheeting for the drying stage: it prevents evaporation rather than helping it.
Step-by-Step: How to Reclaim Clay
1. Break the dry clay into smaller pieces
Large bone-dry lumps take a very long time to absorb water. Smash them into rough chunks no bigger than a fist using a mallet or the back of your hand. Leather-hard scraps can go in as-is.
2. Add the scraps to a bucket of water
Cover the clay pieces completely with water. There is no precise ratio; you want enough water that every piece is submerged. Leave them to slake down for 24 hours. The clay will absorb water and begin to fall apart on its own.
3. Mix into a slop
After the clay has slaked, stir it into a uniform slop. A stick or an old wooden spoon works. You are aiming for a consistency somewhere between thick cream and smooth mud, with no dry lumps remaining. If lumps persist, give it another few hours submerged.
4. Pour onto your drying surface
Spread the slop about an inch thick across a plaster batt or canvas. A thinner layer dries faster; too thick and the center stays wet while the edges firm up unevenly.
5. Allow to stiffen
Leave the slop to dry until it reaches a soft, plastic consistency. This can take anywhere from a few hours on a plaster batt in a warm room to a couple of days on canvas in a cool space. Flip the slab once the top surface looks matte and slightly firm, so the underside dries evenly.
6. Wedge
Once the clay is soft enough to handle without sticking to everything, cut it into blocks and wedge it thoroughly before use. Reclaimed clay can have uneven moisture pockets, so extra attention to wedging pays off here. Proper wedging also removes any air that got trapped during the slaking process.
Tips for Keeping a Reclaim Bucket
Running a reclaim bucket continuously is easier than doing a big batch all at once. A few habits make it manageable:
- Keep a lidded bucket next to the wheel or work table. Toss in trimmings as you work.
- Add just enough water to keep the scraps damp. Bone-dry scraps need full submersion; leather-hard scraps need much less.
- When the bucket is full, let it slake overnight and then pour and dry.
- Never let fresh, wet clay sit in the reclaim bucket for weeks without attention. It can develop a sulfur smell from bacterial activity. The clay is still usable, but it is unpleasant to work with. A quick stir and some fresh water help; leaving the bucket uncovered for a day helps too.
Common Problems and Fixes
The slop is still lumpy after 24 hours Give it more time in the water. Thick or very dry pieces need longer to fully hydrate. Stir occasionally to help things along.
The dried slab is cracking before it reaches a plastic state It dried too fast or too thin. Mist the surface with water and cover loosely with plastic to slow evaporation.
The reclaimed clay feels gritty or short This usually means the clay body has a high grog content, which is normal. If it feels unusually crumbly compared to the original bag clay, you may have accidentally mixed in some fired particles. Pull out any obvious fired bits before slaking.
The reclaimed clay is sticky and hard to wedge Let it firm up a bit longer on the drying board before wedging. You can also cover it loosely with plastic overnight to even out the moisture, then wedge in the morning.
If you are newer to clay bodies and wondering whether grog content affects reclaiming, see what is grog in clay and when do you want it for context.
Frequently Asked Questions
Can I reclaim clay that has started to mold? Yes. Mold on wet or slaked clay is not a problem in most cases. The clay is not ruined. You can add a small amount of bleach to the slaking water to kill the mold if the smell bothers you, though many potters simply ignore it. The mold burns off completely in the kiln.
How long does reclaiming take from start to finish? From dry scraps to wedgeable clay usually takes two to three days. Most of that is passive waiting time, not active work. A plaster batt can cut the drying step down to a few hours.
Do I need to add anything to the water when reclaiming? No additives are necessary. Plain tap water is fine. Some potters add a small amount of vinegar to improve plasticity in the reclaimed body, but this is optional and makes little practical difference for beginners.
My reclaimed clay feels different from the fresh clay out of the bag. Is it ruined? It is not ruined, but it may feel slightly stiffer or more short than fresh clay. This is because some of the additives that manufacturers blend in for plasticity break down over time. Wedging thoroughly and letting the reclaimed clay rest in a sealed bag for a day or two (a process called aging) can improve its feel noticeably.
Can I reclaim greenware that has a glaze application on it? No. Once glaze has been applied to bisqueware and dried, the piece has already been fired at least once, and fired clay cannot be reclaimed. If you have raw greenware that has an unfired surface coating, remove as much as possible before slaking and be aware the reclaimed body may behave a little differently. In most cases it is not worth mixing glazed-greenware scraps into a reclaim batch.
Reclaiming clay is one of those studio habits that feels slightly tedious the first time and then becomes automatic. It keeps your costs down, reduces waste, and teaches you something real about how clay works. If you are still deciding which clay body to start with before you fill your first reclaim bucket, what clay should a beginner buy first is a good place to look.