Glazing & Decorating
Why Glazes Run, Crawl, or Pinhole (and How to Fix Them)
Learn why pottery glaze defects happen and how to fix glaze crawling, pinholes, and running with practical, beginner-friendly troubleshooting steps.
You unload the kiln expecting a smooth, glossy surface and instead find bare patches, tiny craters, or glaze pooled on the shelf. These pottery glaze defects are frustrating, but each one leaves a clue. Once you understand what caused the problem, you can usually fix it before the next firing.
This guide covers the three most common glaze surface defects for beginners: running, crawling, and pinholes. Each section explains what the defect looks like, why it happens, and what to change.
Why Glaze Runs
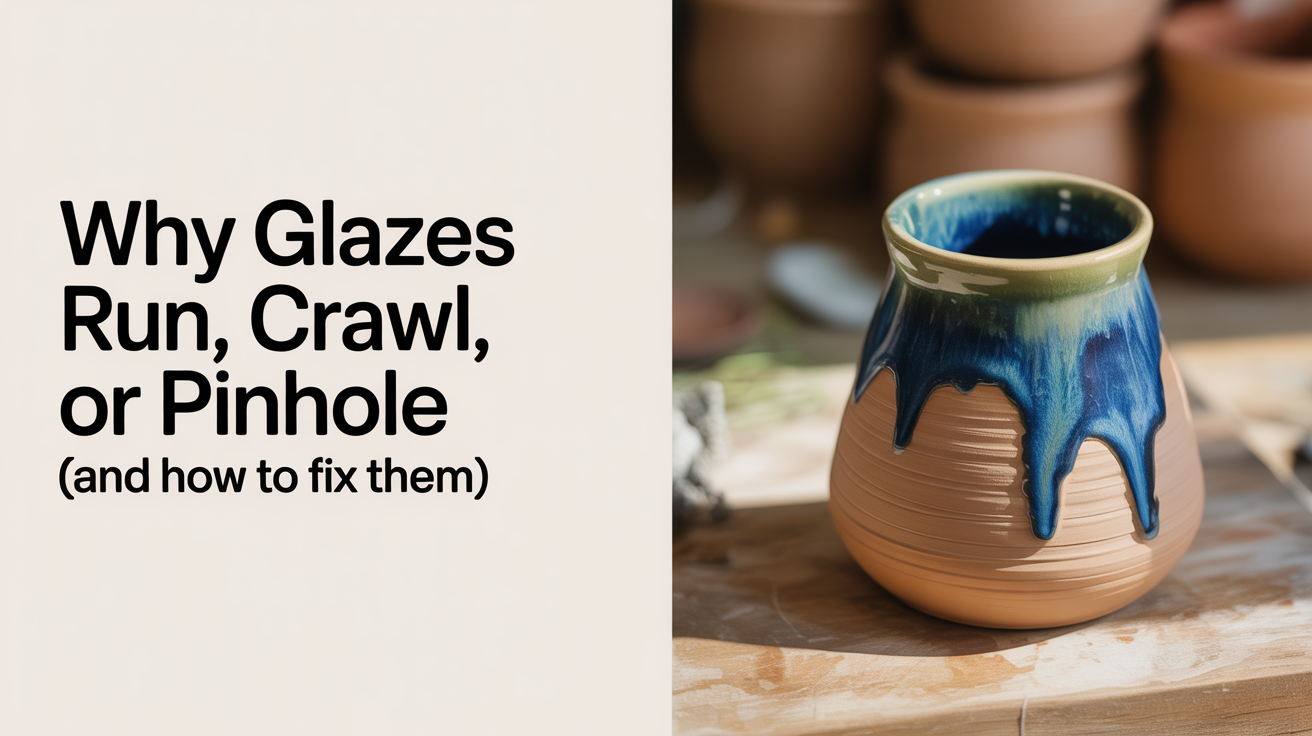
Running means the glaze melted and flowed downward during firing, sometimes pooling at the base of a piece or dripping onto the kiln shelf.
What causes running
Glaze runs when it melts too fluid. The most common reasons:
- Too thick an application. If you brushed on three or four heavy coats, the extra volume gives the glaze more material to move.
- Firing too hot or too long. Going slightly above the glaze's intended cone pushes it past its maturation point into runny territory.
- A high-flux glaze. Glazes rich in materials like lithium carbonate, potassium, or sodium tend to melt earlier and run more.
- A form that concentrates glaze. Carved lines and relief surfaces collect extra glaze during application.
How to fix running
Wipe glaze off the bottom 1 to 1.5 cm of any piece before firing. This is the simplest, most reliable precaution, and it applies to every glaze regardless of how careful your application was. If running is still happening, thin your application by reducing the number of coats or mixing a little water into the glaze bucket. Check your kiln's thermocouple and calibration if you suspect the temperature is climbing higher than the target cone.
If a piece has already run and fused to the shelf, grind off the cooled drip carefully with a rotary tool or diamond pad, then grind and re-kiln wash the shelf before the next firing.
For a deeper look at how glaze chemistry drives this behavior, see how pottery glaze works: a beginner's guide.
Why Glaze Crawls
Crawling looks like the glaze has pulled back from the clay surface and gathered into beads or islands, leaving bare clay between them. The effect can resemble cracked mud or lizard scales.
What causes glaze crawling
Crawling almost always starts before the piece even enters the kiln. The most frequent culprits:
- Dusty or greasy bisqueware. Fingerprints, kiln wash dust, or workshop grime on the surface prevent glaze from bonding properly.
- Applying glaze too thick. A very thick layer shrinks aggressively as it dries and can form fine cracks in the raw glaze coat. During firing, surface tension pulls those edges away from the clay.
- Applying glaze over dry, cracked raw glaze. If you apply a second layer before the first has dried fully, the layers can crack together and crawl.
- High clay content in the glaze. Glazes with a lot of calcined or raw clay shrink more during drying, which increases crawling risk.
How to fix glaze crawling
Wipe the bisqueware lightly with a damp sponge before glazing to remove dust and oils. Let it dry before you apply glaze. Apply thinner, even coats and wait for each coat to dry to the touch before adding the next.
If you regularly mix your own glazes and crawling is persistent, try replacing some of the raw clay in the recipe with calcined clay of the same composition. Calcined clay has already shrunk, so it contributes less drying shrinkage to the fired glaze coat.
On pieces that have already crawled, there is no reliable fix after firing. The bare patches are exposed clay and cannot be re-glazed and refired without risk of the same result. Some potters embrace the texture as a decorative effect; others treat crawled pieces as test tiles.
Learn more about application technique in how to apply glaze: brushing, dipping, and pouring.
Why Glaze Pinhole
Pinholes are tiny craters in the glaze surface that look like the tip of a pin pushed through the glaze from underneath. A related defect, blistering, produces larger raised bubbles that may burst and leave rough craters.
What causes pinholes
During firing, organic material inside the clay body burns away and gases escape through the glaze. If the glaze seals over before those gases fully escape, they punch tiny holes as they push through.
Common causes:
- Firing too fast. Rushing through the temperature range where organic burnout happens (roughly 200 to 600 degrees Celsius in most clays) gives gases less time to escape before the glaze begins to melt.
- Underfired bisque. If the bisque firing was too low or too fast, organic material remains in the clay and causes trouble during the glaze firing.
- Dust or contamination on the bisqueware. Particles on the surface can block gas escape locally, creating a pinhole right at that spot.
- Glaze applied too thick. A thick layer seals earlier and traps more gas.
How to fix pinholes
Slow your glaze firing schedule, particularly through the early stages. If your kiln controller allows it, add a hold (soak) at around 600 degrees Celsius to give burnout time to complete before the glaze starts to melt. A short soak at top temperature (10 to 20 minutes) can also help the glaze heal over any remaining surface disruptions.
Make sure your bisque firing is reaching its intended temperature. A cone 06 or cone 04 bisque should be fully maturing, not just approximating it.
If you suspect surface contamination, wipe bisqueware before glazing and avoid touching glazed surfaces with bare hands.
A Quick Reference: Defect, Cause, Fix
| Defect | Most likely cause | First fix to try |
|---|---|---|
| Running | Too thick, or fired too hot | Wipe bottom 1.5 cm bare; thin coats |
| Crawling | Dusty bisque or too thick application | Clean bisqueware; thinner coats |
| Pinholes | Fast firing; underfired bisque | Slow early firing; add a soak |
| Crawling with cracks in raw glaze | Second coat applied too soon | Let each coat dry fully before adding another |
| Running on carved surfaces | Glaze collects in grooves | Wipe grooves lightly with a damp sponge after glazing |
Testing Before You Fire
If a particular glaze is giving you trouble, fire a test tile before committing a finished pot. A tile takes minutes to glaze and tells you everything: how the color develops, how the surface texture looks, and whether the glaze behaves at your kiln's actual temperature.
Apply the same number of coats you would on a real piece. Mark the tile with the glaze name and cone using underglaze, and keep a notebook of results. Over time, your test tile collection becomes a reliable reference.
For decorating work that happens before the glaze layer, see underglaze for beginners: adding color and designs.
Frequently Asked Questions
My glaze looked fine before firing. Why did it crawl?
The defect usually begins with the dry glaze layer, not the fired one. Cracks or weak adhesion in the raw coat form during drying, and surface tension completes the crawl during firing. Check for dusty or oily bisqueware, and make sure each coat was dry before you added the next.
Can I re-fire a piece that has pinholes or crawling?
Pinholes sometimes smooth out with a second firing if you apply a thin coat of glaze over the affected area and refire. Crawling rarely fixes with a refire because the bare clay resists glaze adhesion. Test on a less important piece before trying it on something you care about.
Why did my glaze run even though I only applied two thin coats?
The glaze itself may be formulated to run at your kiln's temperature. Check the manufacturer's recommended cone range. If you are firing hotter than the glaze was designed for, it will run even with a modest application. Try the same glaze on a test tile at a lower temperature to compare.
What is the difference between pinholes and crawling?
Pinholes are small craters caused by gas escaping through the glaze surface. Crawling is the glaze pulling away from the clay entirely and leaving bare patches. Both are surface defects, but they have different causes and different fixes. Pinholes point to firing schedule or bisque issues; crawling usually points to surface preparation or application thickness.
How do I keep glaze from dripping onto my kiln shelf?
Wipe the bottom of every piece clean before loading, at least 1 cm from the base, more for runny glazes. Place pieces on kiln wash-coated shelves, not bare ones. For glazes you know run, place the piece on a sacrificial cookie (a small slab of clay) so any drips bond to the cookie rather than the shelf.