Hand-Building
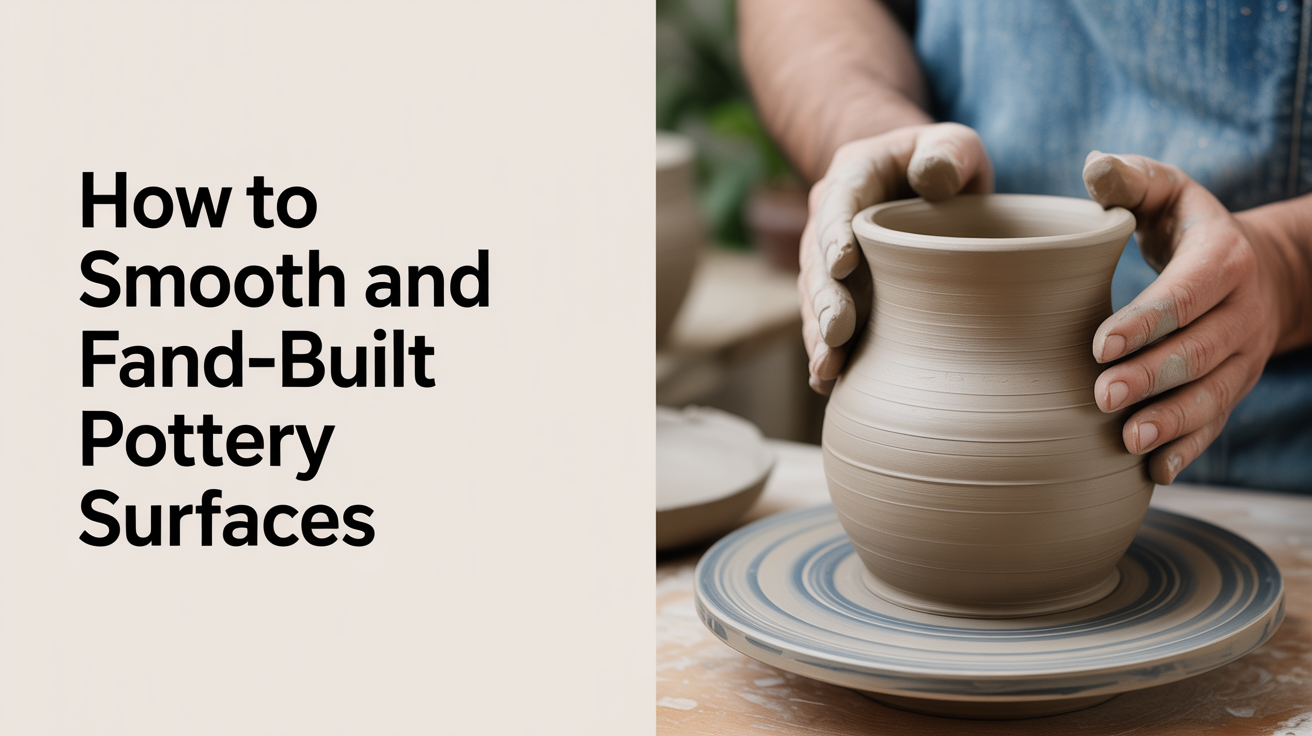
How to Smooth and Finish Hand-Built Pottery Surfaces
Learn how to smooth clay pottery and finish hand-built pieces with simple tools and techniques that work at every stage of drying.
The surface of a hand-built piece tells the story of how it was made. Fingerprints, seam lines, and rough patches from joining coils or slabs are completely normal, and every one of them can be smoothed out if you catch them at the right stage of drying. Knowing when and how to refine clay at each stage is the skill that separates a piece that looks homemade from one that looks intentional.
When to Smooth: Working with Clay Consistency
Timing matters more than tools here. Clay at three different stages calls for three different approaches.
Soft, Freshly Built Clay
Right after building, clay is supple and responsive. You can use your fingers to blend seams, press textures flat, and ease out obvious bumps. The risk at this stage is distorting the form, so support the wall with your other hand whenever you press on the outside.
A slightly damp sponge dragged across the surface fills small pinholes and blends fingerprints without adding much water. Avoid soaking the clay: too much water now will weaken the walls and cause cracking later.
Leather-Hard Clay
Leather-hard is the sweet spot for refining clay surface detail. The piece holds its shape but still shaves cleanly. This is when most finishing happens:
- Scrapers and ribs remove ridges and smooth large areas fast without adding water.
- Metal kidneys are particularly good on curved walls because they flex to follow the form.
- A loop tool or surform can shave away thick areas and flatten lumpy joins.
- A coarse sponge lightly dampened picks up surface roughness without distorting edges.
Work systematically from top to bottom so debris falls clear of sections you have already finished.
Nearly Dry Clay
At this stage you are mostly doing damage control. You can sand gently with fine-grit sandpaper (220 or higher) on areas that are fully dry, but wet tools will raise the clay surface and cause bubbling. If a seam is cracking open as it dries, dampen only the crack with a fine brush, press it shut, and support it with a small coil of soft clay on the inside.
Tools That Actually Help
You do not need a large toolkit to finish hand-built pottery well. These five items cover most situations.
| Tool | Best Stage | What It Does |
|---|---|---|
| Flexible metal rib / kidney | Leather-hard | Shaves surface flat, smooths curves |
| Wooden or rubber rib | Soft to firm | Compresses and blends, good for slab work |
| Loop tool | Leather-hard | Removes excess clay, refines thick spots |
| Damp sponge | Soft to leather-hard | Fills pinholes, blends fingerprints |
| Fine sandpaper (220+) | Bone dry | Removes raised grain before bisque |
One piece of plastic packaging cut into a curved scraper is genuinely useful and costs nothing. Stiff plastic flexes less than a metal kidney but is forgiving on fresh clay.
Smoothing Specific Hand-Building Techniques
Different building methods leave different marks. The approach to smoothing changes slightly depending on how the piece was built.
Pinch Pots
Pinch pots often show thumb marks on the inside and uneven wall thickness around the rim. To smooth the inside, wrap a small piece of damp chamois or soft cloth around your finger and rotate it against the wall in small circles. For the rim, roll a short coil of the same clay, lay it over the rim, and blend it down on both sides with a wooden tool. This thickens and evens the rim at the same time.
See How to Make a Pinch Pot: Your First Pottery Project for more on basic pinch techniques before moving to the finishing stage.
Coil Builds
Coil-built pieces have horizontal seam lines where the coils were joined. On the outside you can blend these at the leather-hard stage with a metal rib held at a slight angle, using short strokes that travel across the seam rather than along it. On the inside, if you have already blended the coils during building, a pass with a wooden rib is usually enough. If the seams are visible and dry, score lightly, apply a thin smear of slip, and then blend.
The guide to Coil Pottery for Beginners: Building Pots with Clay Coils covers joining coils cleanly, which is the best way to reduce smoothing work later.
Slab-Built Pieces
Slabs have flat surfaces that show roller marks and fabric texture if you rolled the clay on canvas. These roll marks actually add character, so decide early whether you want to keep or remove them.
To remove: at the leather-hard stage, a metal rib drawn firmly across the surface shaves the peaks off roller marks without gouging. Work in one consistent direction.
To keep: a light pass with a damp sponge is enough to compress the texture and prevent it flaking off in the kiln.
Edges and corners on slab builds often need extra attention. The join between two slabs is where cracks are most likely to open during drying. Reinforce the inside with a thin coil blended in both directions before the piece stiffens.
For more on working with slabs from the start, see Slab Pottery for Beginners: Making Pots from Flat Clay.
Burnishing for a Smooth, Polished Surface
Burnishing is a finishing technique where you rub the clay surface repeatedly with a smooth hard object until it develops a low sheen. It works on earthenware and some low-fire bodies at the leather-hard stage.
Use the back of a metal spoon, a smooth river stone, or the bowl of a wooden tool. Apply gentle, overlapping strokes. The clay particles compress and align, giving the surface a semi-glossy look that survives low-temperature firing without any glaze.
Burnishing is not compatible with mid- to high-fire clay bodies in the same way: the silica melting at higher temperatures disrupts the compressed surface. Check your clay's recommended firing range before planning a burnished piece.
Frequently Asked Questions
How do I smooth deep scratches or tool marks in leather-hard clay?
Dampen the scratch slightly with a fine brush, let the water absorb for thirty seconds, then use a metal rib to compress the area. For a deep gouge, press a small piece of soft clay into the mark, blend the edges, and smooth over it. Match the clay body as closely as possible to avoid shrinkage differences causing a visible patch after firing.
Can I use water to smooth clay at all stages?
Yes, but sparingly. A little water softens the surface enough to blend small marks. Too much water, applied repeatedly, weakens the clay structure and causes cracking as the piece dries unevenly. At the leather-hard stage, dry tools do most of the work better than wet ones.
My clay surface looks smooth but feels gritty after bisque. What happened?
Coarse grog or sand in the clay body becomes more noticeable after firing because the fine surface clay has burned away. If texture bothers you, switch to a finer-grained clay body, or sand the bisqued piece with 220-grit sandpaper and wipe clean before glazing.
Does the surface need to be perfectly smooth before glazing?
Not necessarily. Glaze flows during firing and fills minor surface variation. Very deep scratches or thick ridges can telegraph through thin glazes, but a surface that looks slightly rough to the eye usually fires out fine. If you are using a thin, translucent glaze, surface quality matters more.
Is burnishing the only way to get a shiny finish without glaze?
Terra sigillata, a very fine slip made from deflocculated clay, applied at the leather-hard stage and burnished, gives a higher sheen than burnishing alone. It fires to a waxy, smooth finish at low temperatures. Both techniques require some practice to apply evenly, but neither needs any specialist equipment.