Hand-Building
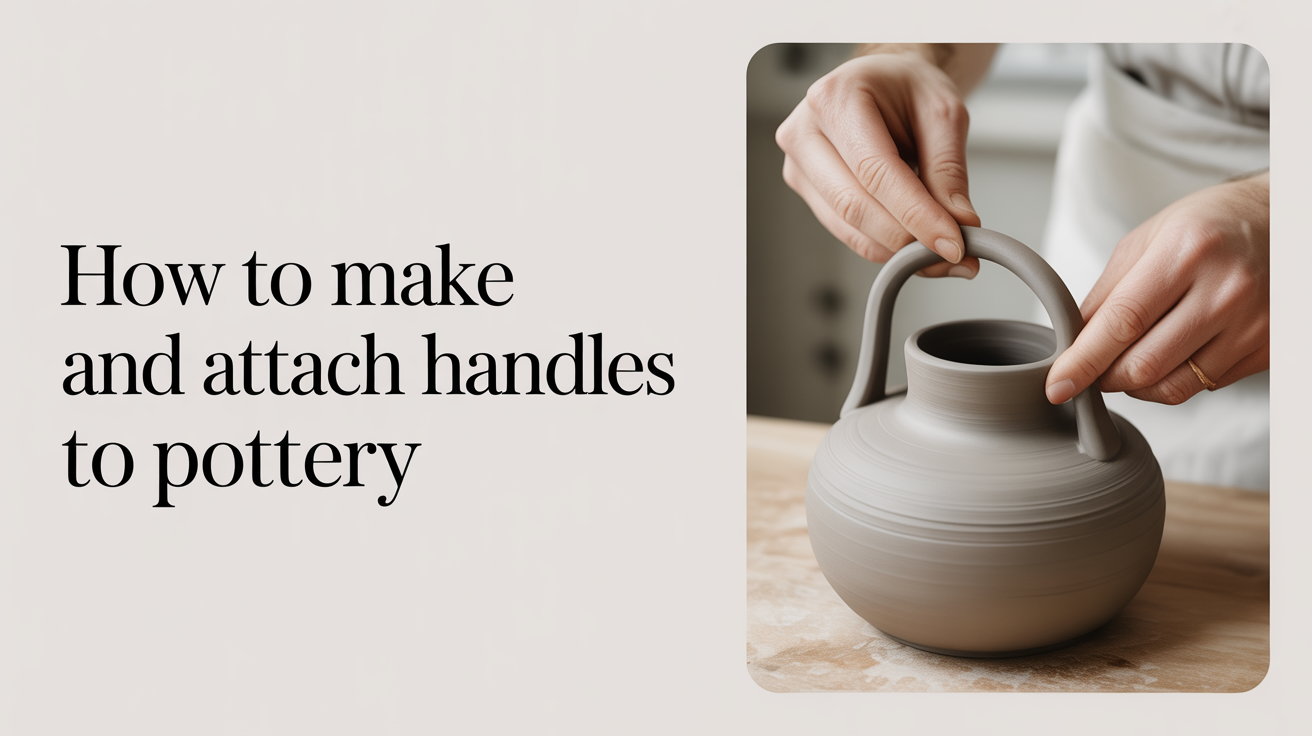
How to Make and Attach Handles to Pottery
Learn two ways to make clay handles, how to score and slip them onto a leather-hard pot, and how to prevent cracking during drying and bisque firing.
A handle that pops off in the kiln is one of the most common frustrations for beginners. It almost always comes down to one of two things: weak scoring at the joint, or mismatched drying rates between the handle and the pot body. Once you understand those two problems, attaching handles becomes reliable rather than a gamble.
This guide covers the two main handle-making methods, how to attach them properly, and how to manage drying so the join stays intact all the way through bisque.
Two Methods for Making Clay Handles
Pulling a Handle
Pulling is the traditional approach. You start with a lug of well-wedged clay, roughly the size of your fist for a mug-sized handle. Wet your non-dominant hand and hold the lug in it. With the other hand, squeeze and stroke downward repeatedly, thinning and lengthening the clay into a strap shape.
The key to a good pulled handle is keeping consistent pressure. Each downward stroke should thin the clay a little more. Rotate the lug slightly between strokes so you work all the way around the cross-section. You are aiming for a strap that is roughly 10 to 12 centimeters long, slightly convex on the outside, and no thicker than about a centimeter at the widest point.
When the shape is right, bend it gently into a curve that matches the scale of your pot and set it aside on a board. Let it firm up for 10 to 20 minutes before attaching. A freshly pulled handle is too floppy to hold its shape during attachment.
Rolling or Extruding a Coil Handle
Coil handles are faster and more consistent, which makes them a good option when you need several matching handles. Roll a coil on a flat surface using even pressure until it is uniform in thickness. For a mug handle, a coil roughly 10 mm in diameter works well. You can flatten one side slightly by pressing it against the table to create a strap shape with a flat inner face, which makes the join area wider and stronger.
If your studio has a clay extruder, you can push clay through a rectangular die to get an even strap with clean edges. This takes the rolling out of the equation entirely.
Both methods produce serviceable handles. Pulled handles tend to have more character and a slightly organic feel. Coil handles are easier to replicate across multiples. Neither is technically better.
How to Score, Slip, and Attach
The attachment step is where most beginner handles fail. Score and slip is the foundational joining method for clay, and it matters more here than in almost any other situation because the handle and body will stress the joint as they move during drying.
Both the handle end and the corresponding spot on the pot need to be at leather-hard stage before you attach. Soft clay compresses rather than joins. Bone-dry clay will not accept slip.
Step one: Score both surfaces. Use a serrated rib, fork, or scoring tool to scratch a crosshatch pattern on both ends of the handle and on the two contact points on the pot. The scratches should be 2 to 3 mm deep and cover the full contact area. Do not be timid here.
Step two: Apply slip to both surfaces. Use a brush to coat both scored areas with slip, which is clay of the same body thinned to a cream consistency with water. Press the surfaces together and wiggle them slightly so the slip works into the scored grooves.
Step three: Blend the edges. Use your finger or a small wooden tool to blend the clay where the handle meets the pot. Work from the pot body up onto the handle so there is a small fillet of clay at the join rather than a hard edge. This reinforces the joint mechanically and eliminates the stress concentration that causes cracks.
If you are attaching a handle to a hand-built mug, check that the handle lines up visually before the slip sets. Hold the mug at arm's length, look at it from the front, and make any adjustments while you still can.
Managing Drying to Prevent Cracking
The joint between a handle and a pot is a stress point because the two pieces of clay may shrink at slightly different rates as they dry. A handle attached to a firm leather-hard pot is already drying more slowly than the exposed handle ends, which dry quickly. That difference pulls the joint apart.
The fix is to slow everything down. Once the handle is attached, cover the mug loosely with a sheet of plastic. The plastic traps humidity and slows drying across the whole piece, giving the handle and body time to equalize. Do not seal the plastic airtight or condensation will collect and soften the clay too much. A loose tent is enough.
Check the piece every 12 hours. When the handle feels the same temperature and firmness as the pot body, you can remove the plastic and let the whole piece finish drying at room temperature. If the handle dries faster and you see a hairline crack forming at the join, mist it lightly with water and re-cover.
A thorough guide to drying pottery before firing goes deeper on how to manage humidity and airflow for the whole piece, not just the handle area.
Checking the Handle After Bisque Firing
Bisque firing is the first real test of your joint. A well-attached handle with a solid score-and-slip connection will survive without any issue. A weak joint that looked fine when dry often shows a gap or partial separation after bisque.
Before loading your mug into the kiln, tap the handle gently with a knuckle. A solid attachment produces a dull thud. A loose or cracked join produces a ringing sound, like tapping a cracked bowl. If you hear that ring, the handle is likely to crack further or detach during firing. It is better to remove it now, rehydrate the attachment points carefully, and reattach than to fire a piece that will not survive.
After bisque, run your finger along the entire join line on both sides. Feel for any gaps, lifts, or cracks that are not visible from a distance. Small surface cracks may be cosmetic and will not affect function, but a gap that you can feel means the joint did not bond fully. That piece can still be glazed and used if the handle is structurally secure, but be aware that glaze fired over a crack will often make it more visible rather than hiding it.
Frequently Asked Questions
How thick should a pottery handle be? A wall thickness of 8 to 12 mm works well for most mugs. Thinner than that and the handle feels fragile and is more likely to crack during drying. Much thicker and it becomes heavy and will dry more slowly than the pot body, which increases the risk of joint cracks.
Can I attach a handle to bone-dry clay? You can try, but the success rate drops sharply. Bone-dry clay absorbs moisture from the slip so fast that the slip dries before it bonds, and scoring does not help much because the clay cannot flex to accept the join. If your piece is fully dry and you need to add a handle, rehydrate the attachment areas with a damp sponge for several minutes before scoring, then proceed as normal.
Why do handles crack at the top attachment point more than the bottom? The top join usually bears more of the weight and bending stress when the mug is handled. It also tends to be positioned where the curve of the handle changes direction, which concentrates movement during drying. Scoring and blending more thoroughly at the top join than the bottom one often solves this. Some potters also add a small coil of soft clay around the top join as additional reinforcement.
How long should I wait after attaching a handle before moving the piece? Give the slip at least 30 minutes to set before moving the mug. Carry it from the bottom, not by the handle. The join needs to be at the same firmness as the rest of the pot before the handle can bear any weight.
Does the type of clay affect handle attachment? Yes. Porcelain has less tooth than stoneware, meaning the surfaces are smoother and scoring does not create as much grip. Score more aggressively with porcelain, use a slightly thicker slip, and give the join extra time under plastic. Earthenware is more forgiving and is a good clay to practice handle attachment on before moving to porcelain.