Hand-Building
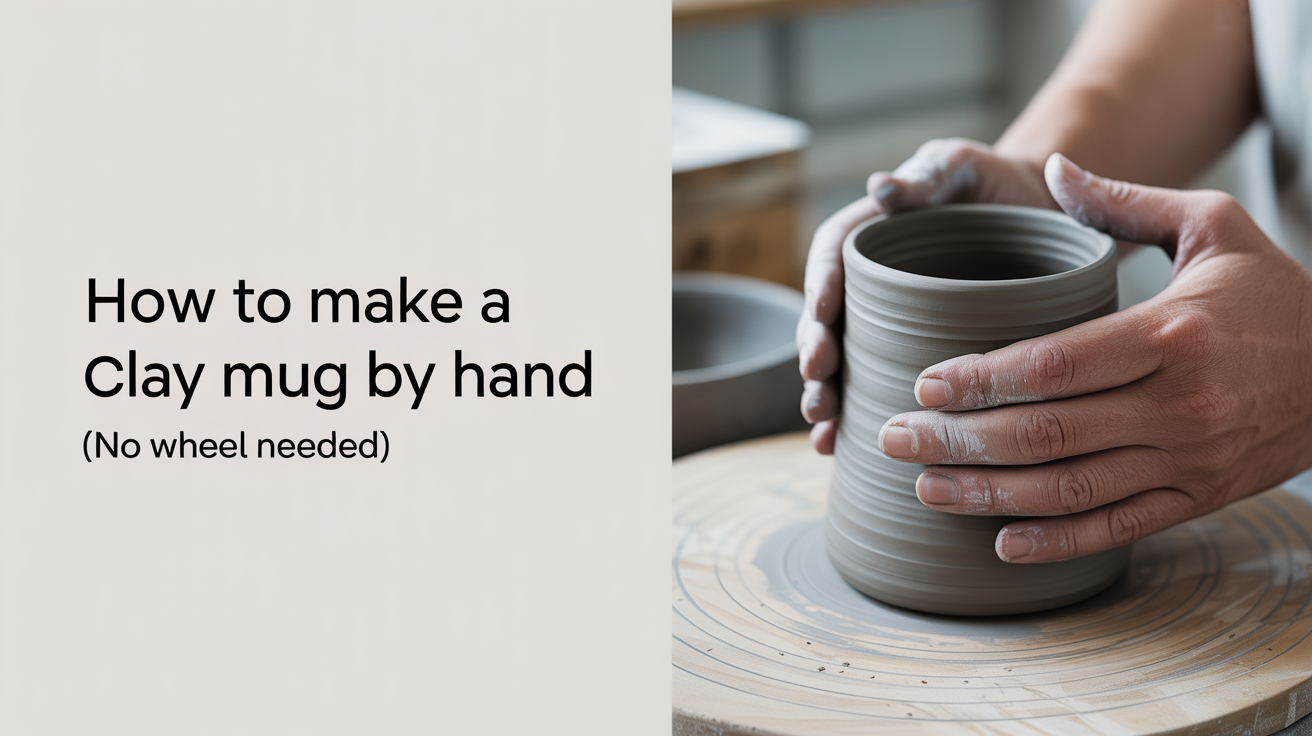
How to Make a Clay Mug by Hand (No Wheel Needed)
Learn how to make a clay mug by hand using coils or slabs. A step-by-step guide for beginners with no wheel, no studio, and no prior experience.
You do not need a wheel to make a clay mug. Most of the world's pottery history was built by hand, and a mug is one of the most satisfying first projects because you end up with something you actually use every morning. This guide walks through the process from start to finish using either coils or a slab, both of which work well on a kitchen table.
What You Need Before You Start
Keep the supply list short. You need:
- Stoneware or earthenware clay (roughly 500g for a standard mug)
- A rolling pin and two wooden guides of equal thickness (or a pasta machine)
- A needle tool or a sharp knife
- A small bowl of water and a natural sponge
- A piece of canvas or a cloth placemat to work on
- A banding wheel or a lazy Susan (optional but helpful for turning your piece)
Food-safe glaze matters for a mug you plan to drink from. Save glazing decisions for after the piece is bone dry and bisque fired. Right now, just focus on the clay.
Choosing Your Method: Coils vs. Slabs
Both approaches produce a solid mug. The right choice depends on the shape you want and how comfortable you feel with each technique.
Coil Building
Coils suit a more organic, slightly irregular shape. You roll ropes of clay and stack them to build up the walls. Each layer can be blended on the inside for strength or left textured on the outside for character. If you have already tried a pinch pot, coil building is the natural next step. A deeper look at the method is in our guide to coil pottery for beginners.
Slab Building
Slabs suit a straighter, more geometric mug. You roll flat sheets of clay, cut them to size, and join the edges. The walls are more uniform in thickness, which helps with even drying. If you want to try slab work beyond this project, see our slab pottery guide.
For a first mug, either works. The instructions below use slabs, because the steps are easier to follow in sequence.
Building the Mug Body
Rolling and Cutting the Slab
Roll out your clay to about 6mm (roughly 1/4 inch) thick. Use wooden guides on either side of the rolling pin so the slab stays even. Uneven walls dry at different rates and can cause cracks.
Cut two pieces:
- A rectangle for the wall, about 9cm tall and 28cm long (this makes a mug roughly 9cm in diameter)
- A circle or oval for the base, traced around the bottom of a cup you already own
Let both pieces firm up for 15 to 30 minutes under a loose sheet of plastic. You want them leather-hard enough to hold their shape but still soft enough to bond.
Joining the Wall
Score the short edges of the rectangle with a needle tool, crosshatching the clay in both directions. Apply a thin layer of slip (clay mixed with water to a paste consistency) to both scored surfaces. Press the edges together firmly and smooth the seam on the inside with your finger or a wooden rib. Run your finger around the outside seam as well to close any gaps.
Stand the cylinder up and set it on the base piece. Trace around the inside of the cylinder with a needle tool, then remove the cylinder. Score the traced line on the base and the bottom rim of the cylinder. Apply slip to both, then press the cylinder down onto the base. Blend the joint on the inside with a coil of soft clay pressed into the seam and smoothed flat.
Trim any excess base clay away with a knife held at a slight angle so the base is flush with the wall.
Refining the Shape
Use a damp sponge to smooth the outer surface. If you want a tapered shape, gently press the base of the cylinder inward with your palms while the clay is still slightly soft. Work slowly and in even pressure all around.
Attaching the Handle
The handle is the part most beginners rush, and that is usually why it cracks off during drying or firing.
Sizing the Handle
A pulled handle has a natural taper and feels comfortable in the hand. To pull one: take a thick carrot-shaped lump of clay, hold it vertically, and stroke downward with a wet hand, using your thumb on one side and fingers on the other. Repeat until you have a strap roughly 12cm long and 1.5cm wide at the top, tapering to about 1cm at the bottom. Let it firm up for 10 minutes so it holds its curve.
Attaching It Correctly
Both the mug wall and the handle attachment points need to be leather-hard and at the same moisture level. This is important. Attaching a soft handle to a drier mug, or vice versa, causes the two pieces to shrink at different rates and the handle pulls away from the wall.
Score and slip both attachment points on the wall and both ends of the handle. Press each end firmly onto the wall and blend a small coil of soft clay around the joint on the outside. Smooth it in so there is no visible gap.
Drying and What Comes Next
Dry the mug slowly. Cover it loosely with plastic for the first day or two, then uncover it to let it reach bone dry. Rushing the drying is the most common cause of cracks. A week at room temperature is typical for a thick-walled piece.
Once bone dry, the mug goes through a bisque firing (typically around cone 06, or 999°C / 1830°F). After bisque, you apply glaze and fire again to the temperature your clay body requires. Always use a food-safe, properly fitted glaze for anything you plan to drink from, and check the manufacturer's data sheet for the specific cone range.
| Stage | What Happens | Common Timing |
|---|---|---|
| Wet clay | Building and shaping | Day 1 |
| Leather-hard | Handle attachment, trimming | Day 1 to 3 |
| Bone dry | Ready for bisque | After 5 to 10 days |
| Bisque fired | Hard but porous; ready for glaze | After kiln firing |
| Glaze fired | Finished, food-safe | After second kiln firing |
Frequently Asked Questions
Can I use air-dry clay to make a mug I actually drink from? Air-dry clay is not food-safe and is too porous and fragile for a functional mug. For a decorative piece or a practice run on the shaping skills, it is fine. For something you plan to use for coffee or tea, use a kiln-fired clay body with a food-safe glaze.
How thick should the walls be? Aim for 6 to 8mm throughout. Thinner than that and the mug is fragile; thicker and it takes much longer to dry evenly and feels heavy in the hand. A consistent thickness matters more than hitting a specific number.
My handle cracked off after drying. What went wrong? Almost always a moisture mismatch. The wall and the handle need to be at the same stage of dryness when you join them. Attaching a freshly pulled, wet handle to a mug that has been sitting out for hours is the most common cause. When in doubt, let both pieces firm up together under the same plastic cover so they dry at the same pace.
Do I need a kiln to finish this project? You need access to a kiln for a functional, food-safe mug. Many community studios offer kiln rental or open firing days where you bring your finished greenware. Some ceramic supply shops also accept pieces for community kiln loads. A quick search for "community pottery studio" or "shared kiln" in your area usually turns up options.
How much clay do I need for one mug? About 450 to 600 grams (1 to 1.3 lbs) of clay covers the body and handle for a standard 10 to 12 oz mug. Weigh it before you start so you have enough for both the wall slab and the handle without running short mid-project.