Glazing & Decorating
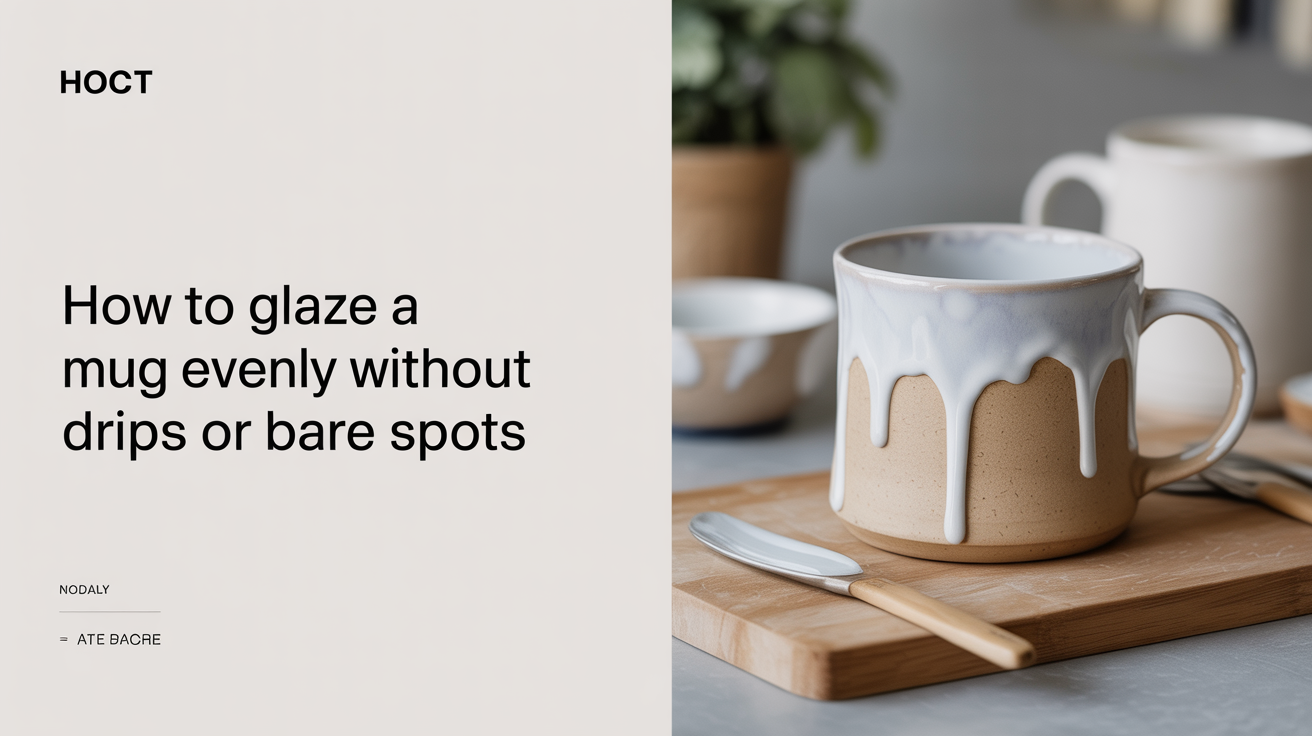
How to Glaze a Mug Evenly Without Drips or Bare Spots
Learn how to glaze a mug evenly using dipping, brushing, and pouring techniques. Practical tips to avoid drips and bare spots every time.
Glazing a mug looks simple until you pull it from the kiln and find a dry patch on the handle or a thick drip fused to the shelf. The good news is that most glaze problems trace back to a handful of habits, and once you address them, you get consistent results.
The short answer: clean your bisqueware, mix your glaze thoroughly, apply at the right thickness (usually three coats for brushing or a 3-5 second dip), and wipe the foot clean before loading the kiln.
Everything below explains the reasoning behind each step so you can troubleshoot when something goes wrong.
Prepare the Mug Before You Pick Up a Brush
Surface contamination is the biggest cause of bare spots and crawling. Even clean-looking bisqueware holds finger oils, dust, and sometimes kiln wash residue.
Wipe with a damp sponge. Go over the outside, inside, and handle. Use clean water and wring the sponge well so you are dampening rather than soaking. Let the piece dry completely before glazing; this usually takes 10-20 minutes at room temperature.
Check for chips or rough patches. Run your hand over the surface. Any sharp edge will catch glaze unevenly. Lightly sand those spots with fine-grit sandpaper (220 or finer) and wipe away the dust.
Avoid touching the glazing surface once cleaned. Rest the mug on a banding wheel or hold it from the inside when possible.
Mix the Glaze Properly
Glaze is a suspension, not a solution. The heavy materials settle to the bottom of the container, sometimes forming a dense slab that resists stirring. Thin liquid on top and thick sludge below produce wildly different results on the same piece.
Stir the glaze thoroughly before every use. A long-handled spoon or drill with a paint mixer attachment works well. Scrape along the bottom and sides of the container. The mixed glaze should have an even, creamy consistency with no lumps.
Check the specific gravity. This is optional but useful if you glaze frequently. Dip-glaze manufacturers often give a target specific gravity (commonly 1.45-1.50 for a pint-sized application, though this varies by glaze). A cheap hydrometer takes the guesswork out of consistency.
Sieve if the glaze has been sitting a while. Pass it through an 80-mesh sieve to break up any lumps before use.
For more background on what glaze actually is and why thickness matters, see our guide on how pottery glaze works.
Apply Glaze Evenly: Dipping vs. Brushing vs. Pouring
Each method has strengths for a mug shape. Most beginners get the best results from dipping the outside and pouring the inside, or brushing both if dipping is not practical.
Dipping the Outside
Hold the mug by its rim (gloved or with tongs), tip it slightly, and submerge it in the glaze bucket up to the foot. Hold it for 3-5 seconds, then lift and rotate gently as you pull it out. Set it upright on a banding wheel to check coverage while the glaze is still wet.
Overlap marks from the tongs are common. Lightly brush a small amount of glaze over those spots once the dipped surface is no longer wet to the touch.
Pouring the Inside
Fill the mug about one-third full of glaze, swirl it around to coat all interior surfaces, then pour it out in one smooth motion while rotating. Pour the excess back into the bucket. Set the mug upside down briefly to drain the last drops, then right it again quickly so the pool does not form at the base of the interior.
Brushing
Brushing gives you more control on handles and lets you work with smaller amounts of glaze. Use a soft, wide glaze brush and apply in smooth strokes that slightly overlap. Three coats, each applied perpendicular to the last, produce more consistent coverage than one thick coat. Let each coat dry to the touch before adding the next.
A full breakdown of these three methods is available in our guide on how to apply glaze: brushing, dipping, and pouring.
Handle the Handle Carefully
The handle is the most common place to find bare spots or drips. It has curved surfaces, inside curves, and junctions with the mug wall, all of which behave differently.
When dipping, the glaze inside the curve of the handle often thins out because the surface tension pulls the glaze away. Touch up these areas with a brush after dipping.
When brushing a handle, work in short strokes from the outside curve inward. Pay attention to the two attachment points where the handle meets the mug; glaze tends to pool there and form drips as it dries.
For drips that appear while the glaze is still wet, you have a few options:
- Lightly press the drip flat with a damp fingertip if the glaze is still soft.
- Wait until the glaze is bone dry, then gently scrape the drip away with a knife or loop tool and dust off the debris.
Wipe the Foot Ring Before Loading
Glaze on the foot ring melts and fuses the mug permanently to the kiln shelf. This is one of the most common mistakes beginners make, and it is simple to avoid.
After glazing, turn the mug upside down and wipe a half-inch margin along the entire foot with a damp sponge. Do this even if you do not think any glaze dripped down that far. Glaze thins invisibly at the edges.
Apply kiln wash to your shelves as a backup, but do not rely on kiln wash alone. It helps with accidental contact but is not designed to catch glaze that was deliberately left on the foot.
Quick-Reference Table: Common Glaze Problems on Mugs
| Problem | Likely Cause | Fix |
|---|---|---|
| Bare patch on body | Surface oil or dust | Clean bisqueware with damp sponge before glazing |
| Drip on lower body | Glaze applied too thick or too fast | Thin the glaze slightly; slow your dipping speed |
| Bare spot inside curve of handle | Surface tension during dipping | Touch up with a brush after dipping |
| Crawling (glaze pulls away from surface) | Dusty bisqueware or glaze applied over oils | Clean piece thoroughly; do not sand bisqueware without wiping clean |
| Glaze fused to shelf | Foot ring not wiped clean | Wipe a half-inch margin from the foot before every firing |
| Uneven color after firing | Inconsistent glaze thickness | Add a third brush coat; stir glaze more thoroughly |
Frequently Asked Questions
How thick should glaze be on a mug? A good target for most commercial glazes is about the thickness of a credit card, roughly 1.5-2mm when wet. Thinner than that and you risk bare spots or washed-out color. Thicker than that increases the risk of drips. If you brush, three medium coats typically land in the right range.
Can I glaze a mug that has already been fired once to cone 6? No. If the piece has been high-fired, the clay is fully vitrified and most glazes will not bond to it properly. Glaze is designed to be applied to bisqueware (fired once to a lower temperature) and then fired a second time to maturity. If your piece came out of a glaze fire and you want to add more glaze, some specialty overglazes work on already-fired surfaces, but standard glazes do not.
Why does my glaze look completely different after firing than in the bucket? Raw glaze and fired glaze have almost nothing in common visually. The liquid you apply contains metallic colorants, silica, alumina, and flux materials that only develop their color and surface texture after the kiln drives off water, burns out organic materials, and melts everything together. Manufacturers often provide fired tile samples. If yours does not, fire a test tile before glazing a piece you care about.
How do I glaze the inside and outside of a mug without contaminating one with the other? Glaze the inside first by pouring. Let it dry completely before dipping the outside. That way the inside is set and the dip glaze does not mix with it. If you brush both, do the inside first by the same logic. When dipping the outside, hold the rim and keep the top inch or so of the exterior out of the bucket so the interior rim does not pick up a second layer.
Do I need to wax the foot ring before glazing? Wax resist is useful but not required. Applied to the foot, wax prevents glaze from adhering to that area at all, so no wiping is needed afterward. It is a time-saver in a production setting. For occasional studio work, a careful wipe with a damp sponge after glazing is equally effective. If you use wax, apply it before glazing and let it dry for a few minutes.
If you want to go further with decoration before or alongside your glaze, our guide on underglaze for beginners covers how to add color and patterns under a clear glaze.