Wheel Throwing
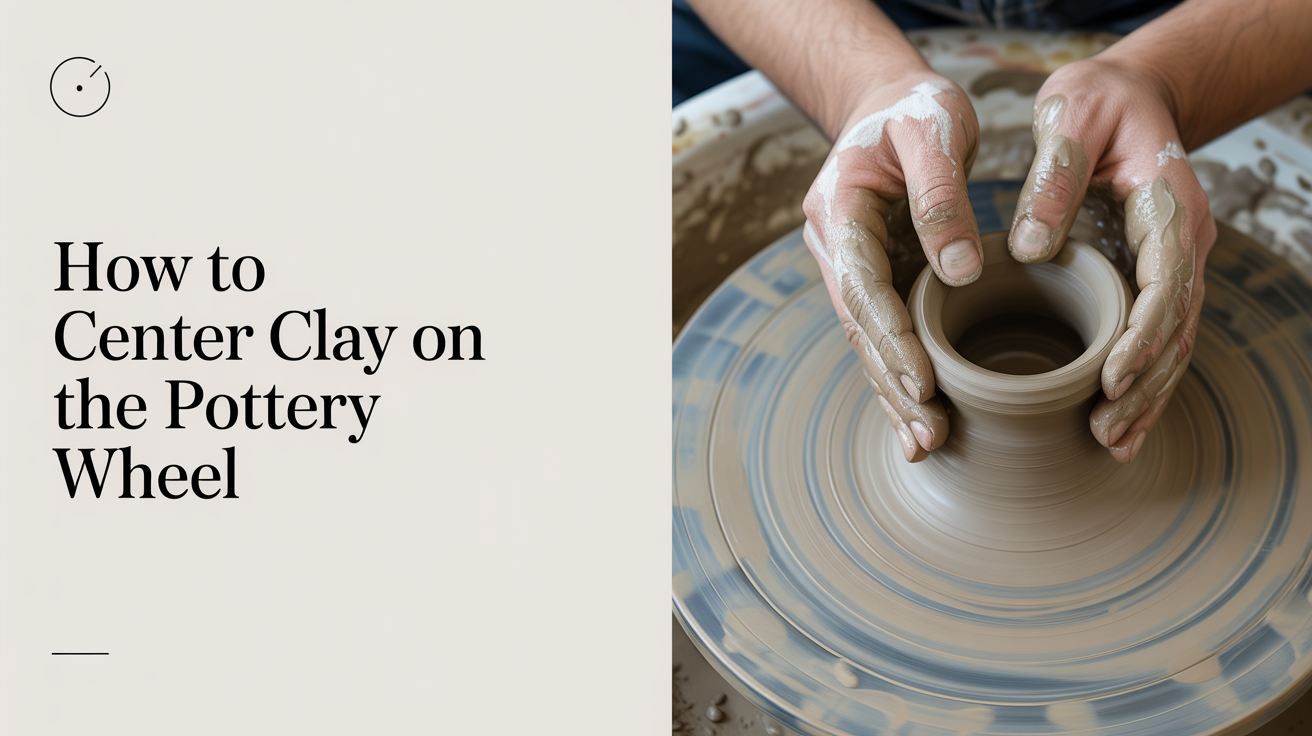
How to Center Clay on the Pottery Wheel
Learn how to center clay on the wheel with step-by-step guidance on body position, hand placement, cone up/down, and knowing when it's truly centered.
Centering is the one skill that separates a pot from a lump. Once you know how to center clay on the wheel, everything else, pulling walls, shaping, opening, becomes possible. If you're just getting started, expect centering to take several sessions before it feels natural. That's not a flaw in your method; it's just how the hands learn this particular thing.
Why Centering Feels So Hard at First
The clay fights back. You push, it shifts. You correct on one side, it pops out the other. That bounce-and-wobble you feel through your palms is called "running out," and almost every beginner experiences it for the first few weeks.
The good news is that the problem is almost never strength. It's usually posture, leverage, or wet hands at the wrong moment. Fix those three things and the clay starts cooperating much faster than you'd expect.
Before you sit down at the wheel, make sure you've already prepared your clay properly. Thorough wedging removes air pockets and makes the clay uniform in stiffness, which makes it dramatically easier to center. If you skip that step, you're fighting both the wheel and the clay at the same time. Our guide on how to wedge clay and why you have to covers the full process.
Body Position and Bracing: The Foundation of Centering Pottery
Most beginners try to center with their arms alone. That's exhausting and it doesn't work well. The real leverage comes from your body.
Sit Close and Lock Your Elbows
Pull your stool as close to the wheel head as you comfortably can. Your thighs should nearly touch the splash pan. Then, brace both elbows firmly against your inner thighs or knees. This turns your arms into a rigid structure that moves with your whole torso rather than flapping independently.
When your elbows float in the air, every tiny wobble in your hands translates directly into the clay. When they're braced, your core absorbs that wobble instead. The difference is immediate and significant.
Lean Your Weight Forward
Once your elbows are braced, you can use body weight instead of muscle tension to apply pressure. Lean slightly forward from the hips. Let gravity do part of the work. You'll find you can hold steady pressure on the clay for much longer without tiring.
Some potters rest their forearms directly on the rim of the splash pan for extra stability. Experiment with both. The goal is the same: remove as many variables as possible so your hands can stay consistent.
Hand Positions: Coning Up and Coning Down
Centering happens in two movements, not one. You cone the clay up, then you press it down. Together, these two passes distribute and align the particles so the clay runs true.
Coning Up
Wet your hands generously, then cup both hands around the clay. Your left hand goes on the side of the mound, pressing inward, while your right hand comes over the top, pressing down and slightly inward.
Now squeeze. Not a fast grab, but a slow, firm compression. As you press the side and top simultaneously, the clay will rise into a tall cone shape. Let it rise. This movement is called "coning up," and it's working the clay from the outside in, aligning the particles and warming the mass so it becomes slightly more workable.
A starting piece of about 1 pound is a good weight for practicing this move. Smaller than that and you don't have enough mass to feel the resistance clearly; larger and the forces get harder to control until your technique is solid.
Coning Down
Once the clay is in a cone, it's time to bring it back down. Move your left hand to the top of the cone with fingers pointing toward the center. Your right hand stays on the side, applying inward pressure. Now press the top of the cone down steadily while the side hand prevents the clay from splaying outward.
The clay should flatten back into a dome shape. This compression from the top is where a lot of the actual centering happens. The trick is keeping both hands working together. If your side hand loosens, the clay squirts outward. If your top hand releases too fast, the cone flops.
Repeat the cone-up and cone-down sequence two or three times. Each pass makes the clay more obedient.
Wheel Speed and Water: Two Variables That Matter a Lot
Spin Fast for Centering
Centering works best at a fast spin, roughly the kind of speed where the wheel feels like it has momentum behind it rather than grinding along. On most electric wheels, that's somewhere between half throttle and three-quarters. Beginners often run the wheel too slow because fast feels scary. But a faster wheel actually helps. The centrifugal force keeps the clay wanting to be in the center; your hands just guide it there.
Once the clay is centered and you move into opening and pulling, you'll slow the wheel down. But for the centering phase, keep it fast.
Add Water Carefully
The clay needs to be slick enough that your hands can move without dragging. If you feel friction, you need more water. But there's a trap: too much water weakens the clay. The goal is a thin, even slip on the surface, not puddles.
Dip your fingertips, not your whole hand. One good dip before each coning pass is usually plenty. If water is pooling around the base of your mound, you've added too much. Blot the wheel head with a sponge and carry on.
How to Tell When Clay Is Centered
This is the question every beginner asks, and the honest answer is that it takes time to develop the feel for it. But there are reliable signs to watch for.
The Visual Check
Look at the clay from the side as the wheel spins. A centered mound looks almost still, like it's barely moving. An off-center mound wobbles visibly and may even seem to breathe or pulse as it rotates. If you can see distinct wobble with your eyes, it's not centered yet.
The Touch Check
Rest one finger very lightly against the side of the spinning mound without pressing. If the clay is wobbling, you'll feel it knocking against your finger rhythmically. When the clay is centered, the contact feels steady and even, almost like the clay is smoothly moving under your fingertip rather than bumping into it.
The Press Check
Press two fingertips gently into the top of the dome and feel whether the clay is pulling them to one side. Centered clay pushes back evenly in all directions. If you feel a sideways tug, there's still a lump offset from the middle.
Once all three checks feel right, you're ready to open. If you want to see what comes next, our guide on wheel throwing for beginners walks through the full sequence from centering through to a finished form.
Common Centering Mistakes (and How to Fix Them)
Centering clay for beginners is mostly about unlearning habits that feel natural but don't work. Here are the ones that come up most often:
- Arms floating free. If your elbows aren't braced, you have no leverage. Brace them against your thighs before you touch the clay.
- Applying pressure in pulses. Squeezing in bursts creates new off-center points. The pressure should be slow and sustained throughout each pass.
- Slowing the wheel during centering. Fast spin helps you. Don't throttle back until the clay is actually centered.
- Using only one hand. Both hands need to work together. The side hand and the top hand are a system, not two separate moves.
- Too much water. Visible puddles mean weakened clay. Use water sparingly and sponge up any excess.
- Giving up after one or two passes. Most beginners need four to six full cone-up/cone-down cycles, sometimes more. Keep going.
- Watching your hands instead of the clay. Look at the silhouette of the mound as it spins. That's where the information is.
A Short Centering Sequence to Practice
Once you understand the mechanics, a consistent sequence helps. Here's a simple one to repeat until it becomes automatic:
- Slam the wedged clay onto a dry wheel head and pat it into a rough dome.
- Wet your hands and set the wheel to a fast spin.
- Brace both elbows against your thighs and lean your torso forward.
- Cone up: left hand on the side pressing inward, right hand on top pressing down and inward. Hold for a full rotation or two.
- Cone down: left hand on top pressing straight down, right hand on the side preventing splay. Hold until the clay settles into a dome.
- Check visually and by touch. If wobble remains, repeat steps 4 and 5.
- Once centered, reduce wheel speed before opening.
After you've centered consistently, learning how to pull up walls on the pottery wheel is the natural next step.
Frequently Asked Questions
How long does it take to learn how to center clay?
For most beginners, centering starts to feel manageable after five to ten sessions at the wheel, roughly two to three months of weekly practice. Some people get it faster, some take longer. The variable is usually how well you've internalized the body mechanics, especially bracing your elbows. If you're still struggling after several sessions, ask an instructor to watch your posture. It's almost always a positioning issue, not a strength issue.
Why does my clay keep flying off the wheel?
This usually means the clay wasn't attached to the wheel head firmly enough before you started. When you place the clay, press down hard with both palms to seat it. You should feel it grip. If the wheel head is wet or has old slip on it, dry it first, then stick the clay down. A piece of clay that's nearly centered can also fly off if you apply pressure unevenly, particularly if one hand releases suddenly while the other is still pushing.
Should I use my whole hand or just fingertips?
For the main centering pressure, use the heel of your palm and the lower part of your fingers, not the fingertips. Fingertips create small focused points of pressure that can dig into the clay rather than moving it as a mass. Save your fingertips for the checking phase, when you want to feel subtle wobble.
How much clay should a beginner start with for centering practice?
Start with 1 to 2 pounds. This weight gives you enough mass to feel the resistance and develop your sense of pressure, but it's not so heavy that the forces overwhelm your technique. Once centering feels reliable at this weight, gradually work up to 3 pounds, then 5. Many experienced potters center 10 to 15 pounds or more, but that takes years of developed leverage and feel.
Does the type of clay affect how easy it is to center?
Yes, noticeably. A softer, more plastic body is easier to center because it moves more readily under pressure. Stiff clay requires much more force and tires beginners out quickly. For your first several months, ask your supplier or studio about a smooth, mid-range cone 6 stoneware body or a grogged earthenware that's on the softer side. Avoid anything described as "short" or "stiff" until your centering is solid.