Getting Started
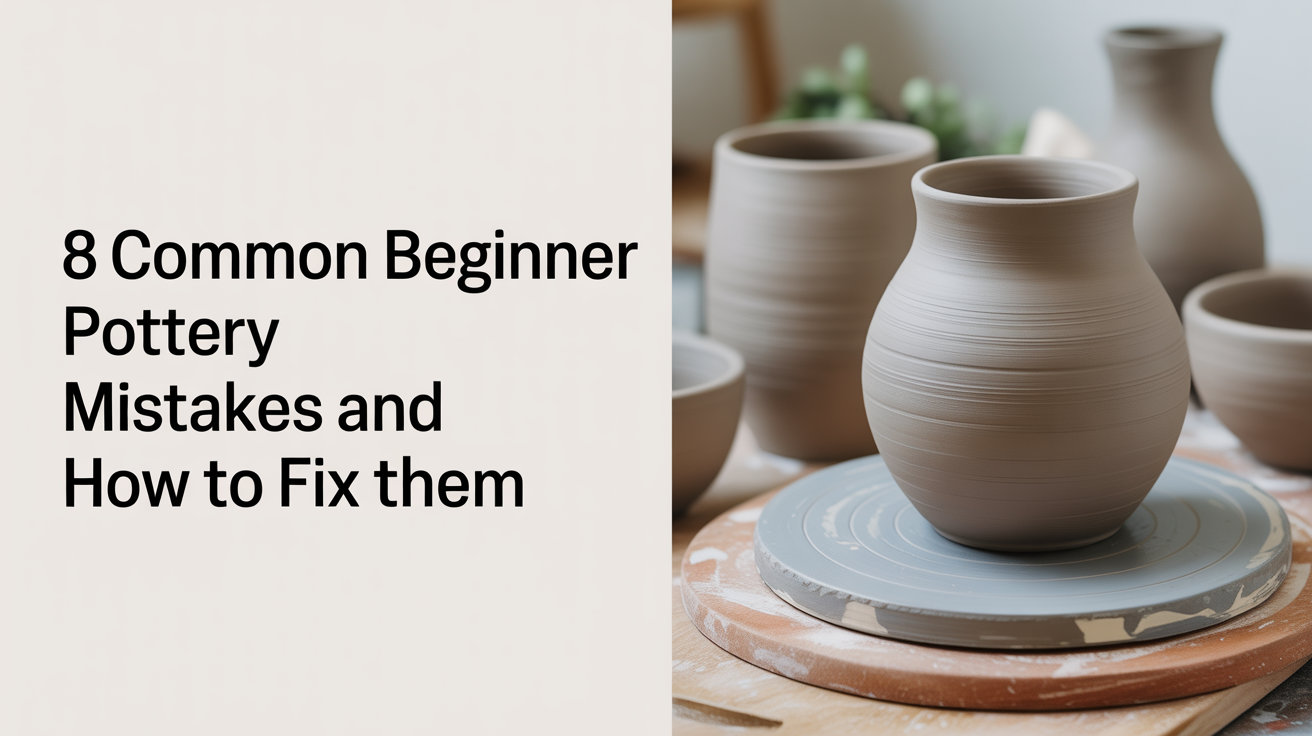
8 Common Beginner Pottery Mistakes and How to Fix Them
Cracked pots, collapsing walls, uneven bases, here are 8 beginner pottery mistakes explained plainly, with practical fixes for each one.
Most beginners hit the same walls in their first few months at the bench. The clay cracks during drying. The walls collapse on the wheel. The glaze comes out a color that looks nothing like the jar. None of these problems mean you're bad at pottery. They mean you're learning something with a steep physical feedback loop, and the fixes are usually simpler than they look.
Here are eight of the most common beginner pottery mistakes, what causes each one, and what to do differently.
1. Skipping the Wedging Step
Wedging looks tedious when you're eager to start building, so a lot of beginners skip it or rush through it. Air pockets trapped in unwedged clay can cause pots to crack in the kiln and, in a worst case, explode and damage work on nearby shelves.
The fix: Wedge your clay until the texture is uniform and smooth, with no soft or stiff patches. Ram's head and spiral wedging both work; pick the one that feels natural to you and practice until it takes under two minutes. If you're buying pre-packaged clay that feels consistent all the way through, a shorter wedge is fine, but don't skip it entirely.
2. Adding Too Much Water on the Wheel
Water lubricates your hands and the clay surface so you can move without friction. But water also weakens clay structure. Beginners tend to reach for the water bucket every few seconds because dry friction feels alarming. The result is clay that turns soft and floppy before the piece is finished.
The fix: Use just enough water to keep your hands from dragging. Between pulls, let your hands rest on the clay for a moment without adding more. Compress the base frequently to push excess water out of the bottom of the piece, which is where it pools and causes the most damage.
3. Uneven Wall Thickness
Walls that are thick at the bottom and paper-thin at the rim, or vice versa, are a structural problem. Uneven thickness creates stress points during drying and firing because different sections shrink at different rates. Rims often crack, and bases can warp or crack along the floor.
The fix: Check your walls as you go. Pinch the rim gently between your fingers to feel for spots that are noticeably thicker or thinner. On the wheel, try to pull all the way from base to rim in one smooth motion rather than working a small section repeatedly. For hand-builders, a pair of rolling guides (two sticks of equal thickness on either side of your slab) takes the guesswork out of even thickness. The guide on pottery for absolute beginners covers this in more detail if you're just getting started with the basics.
4. Drying Too Fast
Pottery cracks during drying for one main reason: the clay on the surface dries faster than the clay underneath. Surface clay tries to shrink while the interior clay is still wet and resistant to movement. That tension becomes a crack.
The fix: Slow your drying down. Cover your piece loosely with thin plastic sheeting and leave small gaps so moisture escapes gradually rather than being trapped. In a warm or dry studio, a damp box (a covered container with a damp plaster or absorbent base) helps maintain an even, slower drying environment. Rims and handles dry first because of their exposed surface area, so pay particular attention to those spots.
5. Attaching Pieces When They're at Different Stages of Dryness
This one catches hand-builders most often. You make a handle or a coil, leave it out for an hour, and then attach it to a body that's still quite wet. The two pieces shrink at different rates as they dry, and the join tears open.
The fix: Match your clay to "leather hard" before joining. Leather hard clay feels cool, holds its shape without deforming, but still has a slight give when you press it. Scratch both surfaces with a serrated tool, apply a small amount of slip (liquid clay in a yogurt-like consistency), press the pieces together firmly, and smooth the join. If you're unsure whether your pieces are at the same stage, press a fingernail lightly into each, they should leave the same depth of impression.
6. Forgetting to Score and Slip
Related to the above: even when both pieces are at the same dryness, skipping the score-and-slip step produces joins that look fine until the kiln reveals a hairline crack or a handle that falls off. Smooth clay surfaces don't bond well to each other without help.
The fix: Always scratch, slip, and compress. Scratching creates surface area. Slip fills the gaps. Compressing removes air from the join. This applies to coil-on-coil connections, handles, feet, lids, and any other multi-part assembly.
7. Applying Glaze at the Wrong Thickness
Glaze thickness is one of the trickier variables in pottery because the results only become visible after the firing. Too thin and the color looks washed out, or the surface stays matte when it should be glossy. Too thick and the glaze crawls, bubbles, or drips down the piece and bonds to the kiln shelf.
The fix: Aim for an even coat approximately the thickness of a credit card for most commercial brushing glazes, and follow the manufacturer's recommended number of coats. For dipping, a slow, steady dip and withdrawal helps avoid pooling. Keep a small bucket of water nearby to wipe the base clean before loading, and leave at least a centimeter of bare clay at the very bottom of every piece. If you're mixing glazes yourself, always follow the manufacturer's data sheet for the specific materials you're using.
8. Rushing from One Stage to the Next
Pottery has stages, and each one has a minimum wait time. Trimming a pot that isn't leather hard enough results in a deformed base. Firing clay that still holds moisture results in cracks or worse. It's frustrating to wait when you're eager to see a finished piece, but pushing ahead too soon undoes the work you've already put in.
The fix: Learn to read the clay rather than watching the clock. Clay at the right stage for trimming feels cool and firm. Clay ready to bisque fire feels room temperature, not cool, and shows no color difference between wet and dry sections. Build a habit of checking rather than assuming. If you're building a home studio space, setting up a reliable drying area with consistent temperature and airflow makes the waiting much more predictable. The guide on how to set up a small pottery studio at home has practical suggestions for that.
Quick Reference: Common Problems and Likely Causes
| Problem | Most Likely Cause |
|---|---|
| Cracks in the rim | Rim dried faster than the body |
| Cracks at the base | Thick base, pooled water, or drying too fast |
| Handle fell off | Pieces at different moisture stages, or no score-and-slip |
| Walls collapsed on wheel | Too much water weakened the clay |
| Glaze crawled or blistered | Applied too thick, or clay was dusty before glazing |
| Piece exploded in kiln | Trapped air bubbles, or fired before fully dry |
Frequently Asked Questions
Why does my clay keep cracking while it dries?
Cracks during drying almost always come down to uneven moisture loss. The outside of the clay dries and shrinks while the inside is still wet. Slowing the drying process, covering pieces loosely, and making sure your wall thickness is consistent all help. If you're getting cracks at joins specifically, mismatched dryness between the pieces is the usual cause.
Can I fix a crack before firing?
Yes, if the clay is still damp or leather hard. Dampen the area slightly, work a small amount of slip into the crack, smooth it, and let it dry again slowly. Cracks in bone-dry clay are harder to repair because the shrinkage that caused them is already done, and any added moisture can cause more cracking around the repair.
Do I need a pottery wheel to start making things?
No. Hand-building methods, including pinching, coiling, and slab work, produce a wide range of forms without any wheel at all. Many experienced potters work primarily by hand. The article on hand-building versus wheel throwing walks through the differences so you can decide what suits your goals and setup.
Why did my glaze come out a completely different color than the jar?
Glaze color in the jar is the unfired color, and most glazes look nothing like their fired result. The minerals in glaze change chemically during the firing. Some reds turn brown, some teal glazes turn olive, and translucent glazes reveal the clay body color underneath. The surest way to predict results is to test small tiles from the same batch on the same clay body at the same temperature before committing a glaze to a finished piece.
How thick should my walls be?
For functional pottery like mugs and bowls, 6 to 8 millimeters is a reasonable target for beginners. This is thick enough to be structural and forgiving of small inconsistencies, but not so thick that the piece is heavy or takes too long to fire evenly. As your control improves you can work thinner, but consistency matters more than thinness at the start.