Wheel Throwing
Why Your Pot Keeps Collapsing on the Wheel
Clay collapsing on the wheel usually comes down to wet clay, weak walls, or poor centering. Here's how to diagnose and fix each cause.
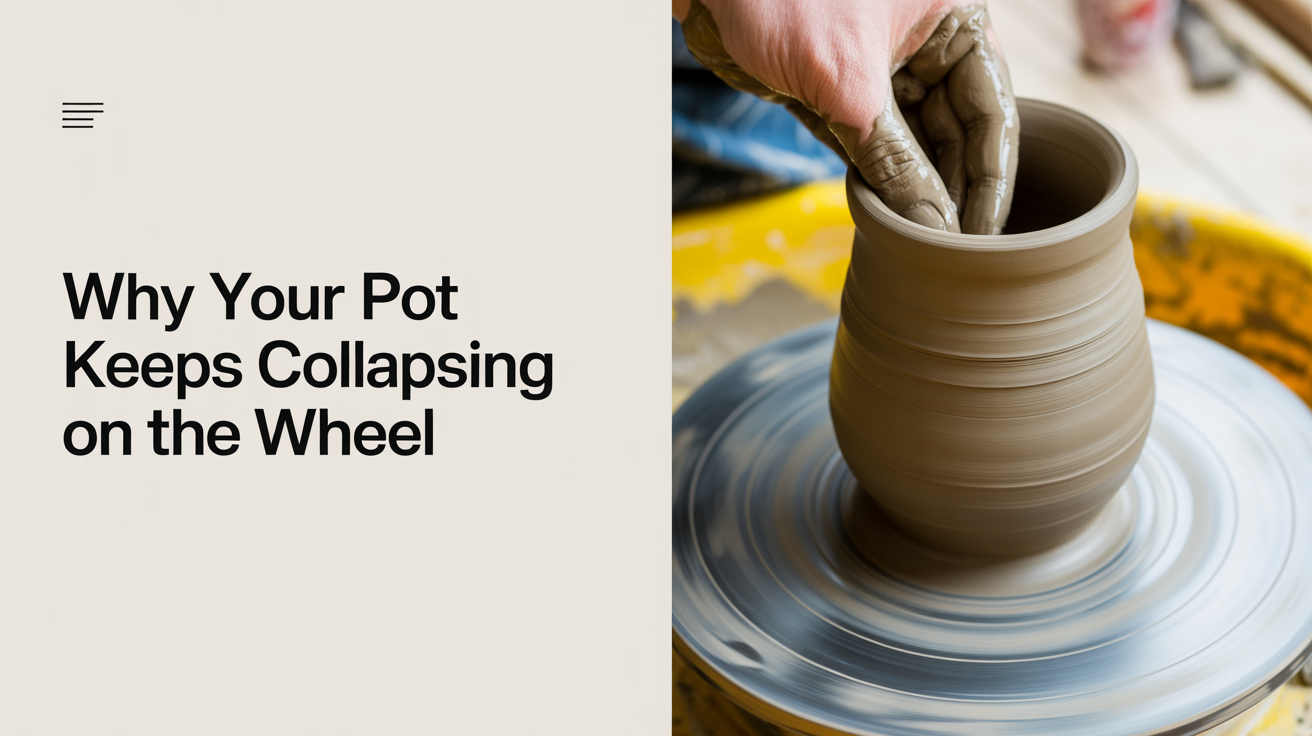
Nothing is more discouraging than a cylinder that was going so well suddenly folding in on itself. The good news is that collapse has causes, and most of them are fixable once you know what to look for. This guide walks through the most common reasons your clay goes down on the wheel and what to do about each one.
The Clay Is Too Wet
This is the single most frequent reason beginners deal with pottery collapsing on the wheel. Water is your lubricant during throwing, but every splash you add softens the clay. Soft clay has less structural strength, and walls that start thin get progressively weaker as the session goes on.
Signs your clay is too wet
- The walls feel floppy and almost rubbery when you stop applying pressure
- Your fingers leave deep grooves that don't spring back at all
- The base of the pot looks shiny and saturated
What to do
Use water sparingly. Dip your fingertips, not your whole hand. Many experienced throwers keep a damp sponge nearby rather than a full bucket, because it forces them to be deliberate about adding moisture. If your clay is already too wet mid-throw, let the piece rest for five minutes without touching it. The surface will firm up slightly as it begins to dry, giving you a bit more working time.
Also consider the clay body itself. A grogged stoneware tolerates more water than a smooth porcelain. If you're constantly fighting collapse, switching to a coarser clay can buy you some extra time on the wheel while your technique develops.
Your Walls Are Uneven or Too Thin
Collapse does not always mean the clay is wet. Sometimes the walls have a thick section at the bottom and a thin section near the rim, and the thin section simply cannot support what's above it. The rim tries to flare outward under centrifugal force, and the weakest point folds.
Check your wall thickness as you go
Get in the habit of stopping and pinching between your thumb and forefinger every few pulls to test the thickness. A consistent wall about the width of your finger is easier to manage than one that varies. Most beginners pull too aggressively at the rim and leave a thick base. That base weight drags the form outward.
Slow down your pulling speed
Fast, jerky pulls put uneven stress on the walls. Try slowing your hands down and letting the clay come up gradually. If you pull too quickly, you can stretch a section past the point it can hold its shape.
The Clay Was Not Centered Properly
If the clay is not fully centered before you open and pull, one side of the wall will always be thicker than the other. As you raise the walls, that imbalance amplifies. The thinner side travels farther on each rotation and stretches more than the thick side. Eventually it collapses.
Centering is not just about getting the clay to look steady on the wheel. You need to feel no wobble when you press gently against the side. A lot of beginners center the top of the mound and leave the base still moving, which causes exactly this kind of collapse.
If you want to build a solid foundation here, read how to center clay on the pottery wheel before your next session. It covers the hand pressure and wheel speed combination that actually locks clay in place.
You Opened Too Wide or Too Deep
Opening is the step where a lot of collapses are set up even before the walls go up. If you open the floor too thin, the base becomes unstable. If you flare the opening too wide before pulling, the walls have to travel outward before they can go up, and the pot ends up short and floppy before you even begin to raise it.
A good opening leaves a floor about the thickness of your thumb and keeps the interior walls fairly vertical. You can always open the form wider later, but you cannot add clay back once you have taken it away.
Common Collapse Scenarios and Quick Fixes
| Scenario | Likely cause | Fix |
|---|---|---|
| Walls buckle inward halfway up | Walls too thin in the middle | Slow your pulls, check thickness often |
| Rim flares and folds outward | Too much water at the top | Use a sponge instead of bucket; compress the rim |
| Base feels wobbly and the whole piece leans | Centering incomplete | Re-center and compress the base before opening |
| Pot collapses on the third or fourth pull | Clay saturated with water | Let it rest, use less water from the start |
| Short, squashed form that never grows | Opening too wide | Keep the opening narrower and pull more vertically |
Building Good Habits From the Start
Collapse tends to happen in clusters for beginners because one mistake compounds the next. You add more water to compensate for stiff clay, the clay gets wet, you pull faster to try to fix the shape, the walls get uneven, and then the pot goes down. Breaking that cycle means slowing everything down.
A few habits that help:
- Wedge consistently. Air pockets and inconsistencies in the clay body cause sudden weak spots. Proper wedging before you sit down at the wheel removes variables. See how to wedge clay and why you have to for a walkthrough of the technique.
- Use less clay to start. Throw with half a pound less than you think you need. Smaller amounts are easier to center and easier to control, and they teach you the movements before you add the challenge of size.
- Stop when it looks good. One of the hardest lessons at the wheel is knowing when to quit. If the form looks reasonable and the walls feel even, stop throwing. Extra pulls just add more water and more risk.
For a full step-by-step introduction to raising your first cylinder, wheel throwing for beginners: your first pot step by step covers every stage from sitting at the wheel to cutting your piece off the bat.
Frequently Asked Questions
Why does my pot collapse every single time, even when I think I'm doing it right?
If every pot collapses, the most likely culprit is centering. A pot that is not fully centered builds in instability from the start, and no amount of careful pulling will overcome that. Focus an entire session on just centering and opening without trying to raise walls. Repetition at that stage fixes the problem faster than anything else.
Is there such a thing as clay that is just too wet to save mid-throw?
Yes. If the walls feel like wet tissue paper and you can push through them with almost no pressure, the clay has absorbed too much water to continue safely. Cut the piece off, wire the clay off the bat, wedge it with some dry clay or let it firm up overnight, and start again. Trying to rescue a saturated piece almost always ends in collapse.
What is an S crack in pottery, and does it happen while throwing?
An S crack in pottery is a crack that runs through the base of a pot in a rough S or spiral shape. It usually appears during drying or bisque firing, not while throwing, but the cause is often set up on the wheel. It happens when the base is compressed in one direction while the walls were pulled in another, creating internal stress. Compressing the base with a rib after opening, and drying the pot slowly under plastic, are the best ways to prevent it.
My pot leans to one side but does not collapse. Is that a centering issue?
A lean usually points to centering, but it can also happen when the walls are uneven and one side dries or thins faster than the other. Check whether the lean is visible while the wheel is spinning or only after you cut the piece off. If it leans on a spinning wheel, centering is the issue. If it only leans after cutting off, the walls are probably uneven in thickness.
How much water should I actually be using per session?
There is no fixed amount, but most experienced throwers are surprised by how little they actually need once their technique improves. A small bowl or sponge is enough for a single piece. If you are going through a full bucket in one session, that is a sign to slow down and be more deliberate about when you add moisture.