Wheel Throwing
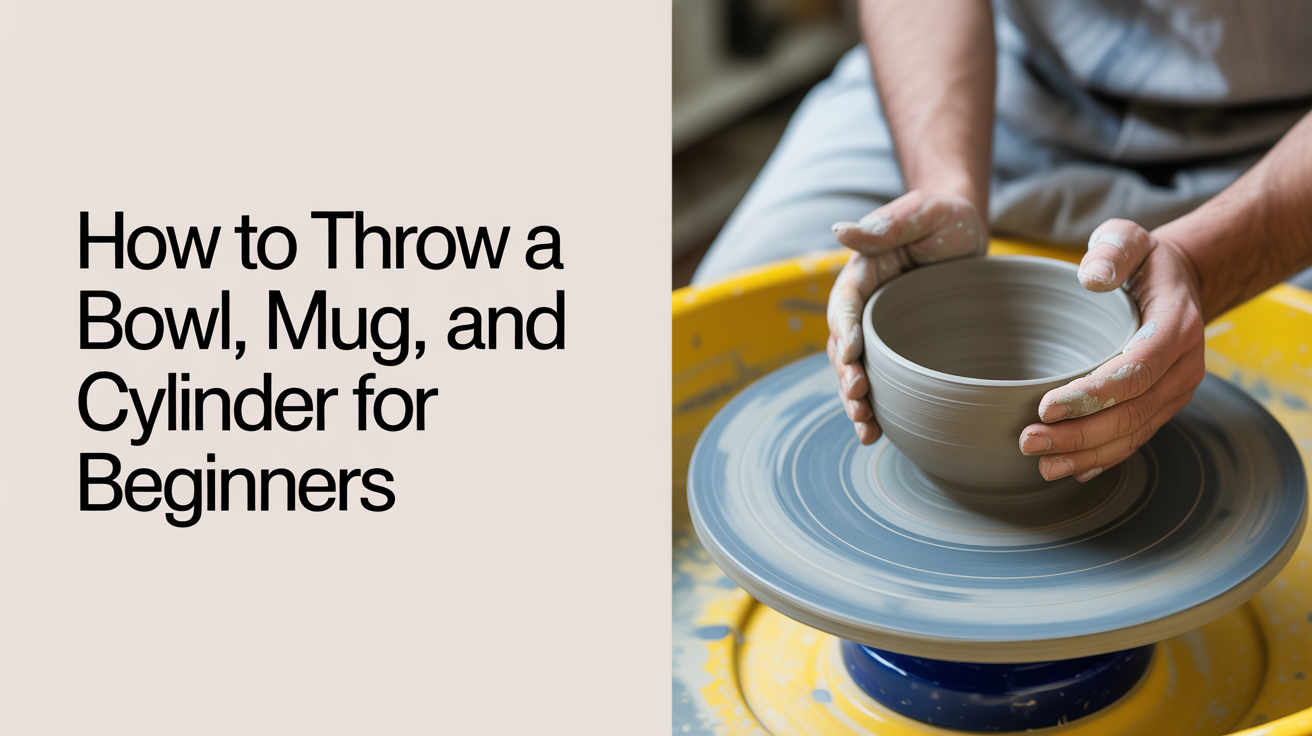
How to Throw a Bowl, Mug, and Cylinder for Beginners
Learn how to throw a bowl on the wheel, plus a cylinder and mug. Step-by-step guide covering the three shapes every beginner should practice first.
Most people sit down at a pottery wheel for the first time and want to make a bowl. That makes sense. But if you throw a cylinder first, your bowls will be better. The cylinder is the foundation shape. Once you can open a cylinder and pull even walls, you already know most of what you need to know to throw a mug or a bowl.
This guide walks through all three in sequence: cylinder, bowl, then mug. Each builds on the last.
Before any of this, you need centered, well-wedged clay on the wheel. If you are still working on that step, read how to wedge clay and why you have to and how to center clay on the pottery wheel first. Come back here once you can get a smooth, wobble-free mound.
Start with the Cylinder
A cylinder sounds boring, but it is the most useful shape you can practice. Mugs, vases, and cups all start from a cylinder. Bowls diverge from it. Time spent on cylinders is never wasted.
Opening the floor
Once your clay is centered, slow the wheel slightly. Place both thumbs side by side at the very center of the mound, press straight down, and stop about half an inch from the bottom. This is your floor. If you go too deep, you weaken the base and risk punching through.
Pull your thumbs outward to widen the floor to roughly the diameter you want the inside of the pot. Keep your elbows braced against your torso so the movement is steady.
Pulling the walls
Wet your hands, place one hand inside the cylinder and one outside. The inside hand lifts from the base; the outside hand follows and compresses. Move both hands upward together in one slow, even pass. Let the wheel do the rotation work. Your hands just guide the clay up.
Repeat this pull three or four times. Each pass thins the walls a little more. Aim for walls that are roughly the same thickness from bottom to top. If the top gets floppy or starts to wobble, stop and compress the rim with a damp finger before pulling again.
A good beginner cylinder is about six inches tall with walls around a quarter-inch thick. Do not chase height at the cost of evenness.
Throwing a Bowl on the Wheel
A bowl flares outward from the base. You throw the walls almost exactly like a cylinder, then use gentle pressure to push them open.
Getting the shape
Throw the base of your bowl slightly wider than you would for a cylinder, since you want room to open the walls outward. After your first two wall pulls, the form should look like a chunky, short cylinder.
Now slow the wheel down. Place one hand inside the pot near the base and one outside. Apply light outward pressure from the inside hand while the outside hand supports and guides. Move both hands upward together, letting the shape flare as you go. Take this slowly. Overflaring too fast collapses the walls.
Finishing the rim
Bowl rims are often left slightly thickened and rounded. Once you are happy with the flare, use a damp finger or a leather chamois to smooth and compress the rim. This prevents cracking as the piece dries.
Leave the bowl to firm up to leather-hard before trimming the foot. A soft bowl will distort if you try to trim it too soon.
Beginners often underestimate how much a bowl shrinks. Stoneware typically shrinks 10 to 12 percent from wet to fired. A bowl that looks large on the wheel will be noticeably smaller out of the kiln.
Throwing a Mug
A mug is a cylinder with a handle. The throwing part is almost identical to making a cylinder, but with a few differences in proportion.
Mug proportions
A standard mug holds about 12 to 16 fluid ounces. When you are throwing, you are working in clay volume before shrinkage, so throw taller and slightly wider than the finished size you want. For a 12-ounce mug, aim for a thrown height of around four to five inches with a three-inch interior diameter.
Keep the walls on the thicker side of acceptable (a generous quarter inch). The mug needs to survive handle attachment, handle drying stress, and regular use. Thin mug walls look elegant but break more easily, especially at the handle join.
Pulling the handle
Handles are attached at leather-hard stage, not when the mug is wet. The mug should firm up for at least a few hours, or overnight in a humid environment. The handle clay needs to be pulled or rolled to a similar leather-hard consistency before attaching, so both pieces shrink at roughly the same rate.
Score the mug wall and the handle ends. Apply slip (liquid clay) to both scored surfaces. Press the handle firmly into place and smooth the joins. A handle that is just rested against the mug, without scoring and slipping, will detach in the kiln.
For a deeper look at making your first wheel-thrown forms, see wheel throwing for beginners: your first pot step by step.
Comparing the Three Shapes: A Quick Reference
| Shape | Wall direction | Common beginner error | When to trim |
|---|---|---|---|
| Cylinder | Straight up | Walls taper too thin at top | Leather-hard |
| Bowl | Flares outward | Flaring too fast, walls collapse | Leather-hard, after it holds shape |
| Mug | Straight up (like cylinder) | Walls too thin for handle stress | Leather-hard before handle attach |
Common Mistakes Across All Three Shapes
Using too much water. Water lubricates the clay so your hands can move. But too much water softens the clay and makes the walls collapse. Use just enough to keep your hands sliding. Pat the interior dry between pulls if water is pooling.
Rushing the pulls. Beginners often move their hands too fast up the walls. Slow, steady pulls with consistent pressure produce even walls. Quick jerks produce thick spots and wobbles.
Skipping compression. Every time you pull walls, compress the rim before the next pull. This realigns the clay particles and prevents cracking.
Not bracing your elbows. Your arms need a fixed reference point. Brace your elbows against your torso or on the wheel splash pan. Floating arms produce wobbly walls.
Cutting the pot off too soon. Let the piece firm up slightly on the bat before removing it. A fresh-thrown pot that is lifted too early will distort.
Frequently Asked Questions
What is the best first pot to throw for a complete beginner? A cylinder. It teaches you to open clay, pull walls straight, and control rim compression. All other shapes use the same skills. Jumping straight to a bowl or mug before you have clean cylinders tends to produce work that is uneven at the base and floppy at the rim.
How much clay do I need to throw a mug? For a beginner, around 450 to 500 grams (about one pound) of clay is a good starting amount for a mug. More experienced potters can throw a mug from less, but beginners benefit from extra clay to grip during centering. Expect the finished mug to be about 10 to 12 percent smaller after firing.
Why does my bowl keep collapsing when I try to open it? Usually one of three things: the clay is too wet, you are flaring too aggressively, or the walls got too thin during the pull. Try slowing the flare and using less water. Make sure your opening pulls leave enough clay in the walls before you start pushing outward.
Can I throw a mug and bowl on the same day as a beginner? Yes, but keep your expectations realistic. Each piece takes time to center and throw. If you are new, plan for each pot to take 20 to 40 minutes. Throwing for two or three hours in one session is tiring, and fatigue shows in the work.
How thick should the bottom of a bowl or mug be? Aim for about a quarter inch at the base when the piece is wet. This leaves enough clay to trim a clean foot ring later without risk of trimming through the floor. Very thin bases are fragile and prone to cracking during drying and firing.