Firing & Kilns
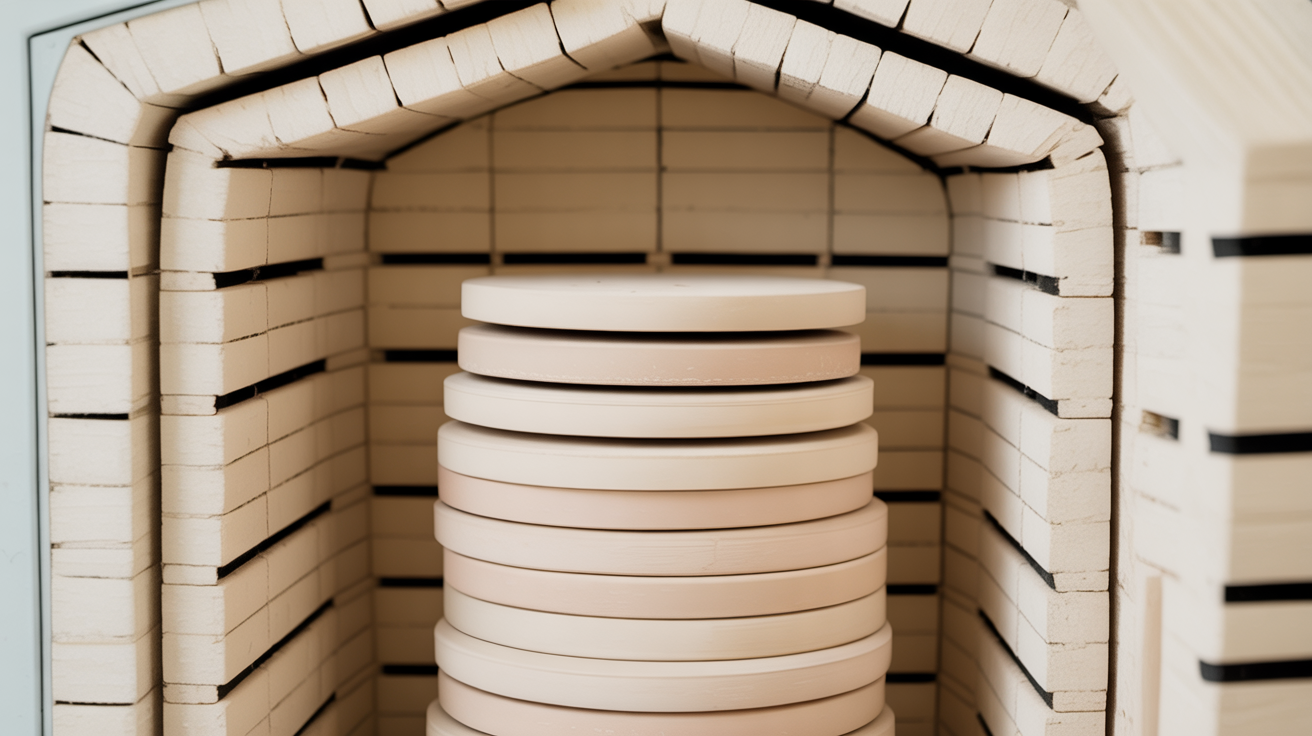
How to Load and Stack a Kiln Safely
Learn how to load a kiln correctly: kiln wash, shelf placement, post heights, spacing rules, and the checks to run before you close the lid.
Loading a kiln is one of those tasks that looks simple until something goes wrong. A shelf cracks, a piece fuses to the kiln furniture, or the door won't quite close. Most of those problems trace back to the same handful of mistakes, and all of them are avoidable once you understand the logic behind the load.
This guide covers stacking from the floor up: how to set posts, position shelves, space your work, and do a final check before the firing begins. If you're still sorting out the difference between a bisque and a glaze fire, start with bisque firing vs. glaze firing, then come back here.
Prepare the Kiln Furniture First
Kiln furniture means the shelves, posts, and any other refractory material that holds your work inside the kiln. None of it lasts forever, but it lasts longer when you treat it right before every firing.
Apply or Refresh Kiln Wash
Kiln wash is a refractory coating brushed onto the top surface of every shelf. Its job is to prevent glaze drips from fusing the pot to the shelf permanently.
- Mix kiln wash to a thin, milky consistency.
- Apply two or three thin coats with a wide brush, letting each coat dry before the next.
- Leave the bottom surface of the shelf bare. Wash on the underside can flake off and contaminate glazed surfaces below.
- Inspect old shelves for cracked or pitted wash. Scrape off loose sections with a putty knife, then repatch before use.
You only need to wash the shelf once before its first use, then touch up bare spots afterward. A heavily pitted shelf should get a full scrape-and-recoat.
Check Shelves and Posts for Damage
Kiln shelves can develop hairline cracks from thermal shock. Hold each shelf up to the light and look for cracks running across the surface. A cracked shelf can fail mid-firing and drop everything on it. When in doubt, retire the shelf.
Posts should sit flat without wobbling. A tilted post under a loaded shelf puts uneven stress on the shelf and risks toppling.
Set the First Level
The bottom of the kiln is where you start. Place three posts on the kiln floor, arranging them to form a stable triangle or an evenly spaced line across the depth of the kiln. Three posts give you a stable, level platform even on an uneven floor surface. Four posts can rock.
Post heights for the first level depend on what you're firing:
- Bisque firing: Posts can be short (1 to 2 inches) since unfired work can be stacked or nested and height is less critical.
- Glaze firing: Leave enough clearance that taller pieces fit without touching the shelf above. Measure your tallest piece and add at least half an inch.
Once posts are in place, set the shelf level. Rest a short level across the shelf if you're unsure. A shelf that tilts even slightly will cause pieces to lean and can encourage uneven heat distribution across that zone.
Spacing Rules for Loading a Pottery Kiln
How you arrange work on each shelf matters as much as the shelf setup itself.
Bisque Firing Spacing
During bisque, glaze isn't yet on the work, so pieces won't stick together. You can:
- Nest smaller bowls inside larger ones (rims facing up, bottoms facing down, in alternating orientation).
- Stack flat tiles or plates in short columns with small clay spacers between them.
- Pack shelves relatively full, since airflow through bisque loads is less critical than in glaze firings.
Even so, leave a small gap between pieces so heat can circulate. Pieces pressed directly against each other may not fire evenly.
Glaze Firing Spacing
Glaze melts at temperature. Any glazed surface touching another glazed surface, or touching a shelf, will fuse. Follow these rules:
- Keep at least a quarter inch of space between every glazed piece.
- Leave the bottom quarter inch of every piece free of glaze, or wax the foot ring before dipping so glaze doesn't reach it.
- Keep glazed surfaces away from the kiln walls. A drip that reaches the brick can damage the wall and fuse the piece in place.
- Never stack glazed pieces directly on top of each other.
Clearance Between Shelves
Leave at least half an inch of clearance between the top of the tallest piece on one shelf and the underside of the shelf above. One inch is more comfortable. This gap allows hot gases to circulate and prevents pieces from touching the shelf above if they warp slightly during the firing.
Stacking Upward: Posts and Alignment
As you build upward through the kiln, keep a few things in mind.
Align posts vertically. Posts from level to level should stack directly above each other. A post sitting at the edge of a shelf above the open air is distributing weight incorrectly and increases the risk of a collapse.
Match post heights across each level. If you use three posts of different heights under one shelf, the shelf won't sit flat. Measure posts before mixing them, or use a matched set.
Don't over-stack. Most kilns have a maximum load weight. More practically, a kiln crammed to the top with tall stacks of shelves is harder to fire evenly, since heat rises and the top zone runs hotter. Distribute mass throughout the kiln rather than piling everything as high as possible.
The table below summarizes the clearances to keep in mind:
| Zone | Minimum Clearance |
|---|---|
| Between glazed pieces (sides) | 1/4 inch |
| Glaze-free zone at the foot | 1/4 inch up the side |
| Piece top to shelf above | 1/2 inch (1 inch preferred) |
| Top shelf to kiln lid | 1 inch |
| Any piece to the kiln wall | 1/2 inch |
Final Checks Before Closing the Lid
Before you close the kiln, work through this list:
- Walk the shelves visually. Look across each level from the door. Do any pieces lean? Is anything touching a neighbor?
- Check the foot rings. Reach in and confirm no glaze is on the bottom of any foot ring. A forgotten smear will bond the piece to the shelf.
- Confirm posts are stable. Nudge each post gently. If it wobbles, the load above it is at risk.
- Clear the elements (electric kilns). Make sure no piece is close enough to touch an element if it tilts slightly during firing.
- Check the thermocouple or witness cones. The thermocouple probe or cone pack should be visible through a peephole and positioned to accurately represent the center zone.
- Remove anything that shouldn't be in the kiln. Paper cone pads, tape, scraps of clay. They burn off and can create fumes or leave residue.
Understanding what actually happens to heat inside the chamber will help you interpret why these positions matter. For a full explanation, see how a pottery kiln works.
Also make sure your work is fully dry before it goes in. Any moisture trapped inside clay turns to steam rapidly during the early stages of a firing and can crack or explode the piece. If you're unsure whether your pottery is ready, read how to dry pottery before firing.
Frequently Asked Questions
Can I put bisque and greenware in the same kiln?
Yes, if the greenware is bone dry. Greenware that still holds any moisture can crack or explode during the preheat phase, and flying fragments can damage surrounding bisqueware. If you're confident the greenware is fully dry, combining loads is a common way to fill a kiln efficiently.
How tight can I pack a bisque firing?
Fairly tight, within reason. Pieces can touch during bisque since there's no glaze to fuse them. The main concern is airflow: leave small gaps so heat can reach all surfaces, and avoid stacking pieces so densely that the interior pieces come out underfired.
Do posts need to go in a specific pattern?
Three posts in a triangular arrangement per shelf is the most stable option. For wide shelves, four posts are sometimes used, but the shelf needs to sit flat across all four. A wobble means one post is too tall or too short, and that needs correcting before loading.
What if a piece is taller than any gap I can create?
Load the tall piece near the edge or corner of a shelf and skip the shelf above in that column. You can also place the tall piece directly on the kiln floor if its foot is unglazed, leaving room for it to stand without a shelf overhead.
How do I know if a shelf is level enough?
A short torpedo level works well. Alternatively, place a marble or small ball bearing on the shelf surface: if it rolls, the shelf needs adjustment. Most kilns tolerate very slight tilts, but anything visible to the eye should be corrected before you load work on top.